Checking an image in black and white before making editing decisions can reveal valuable information...
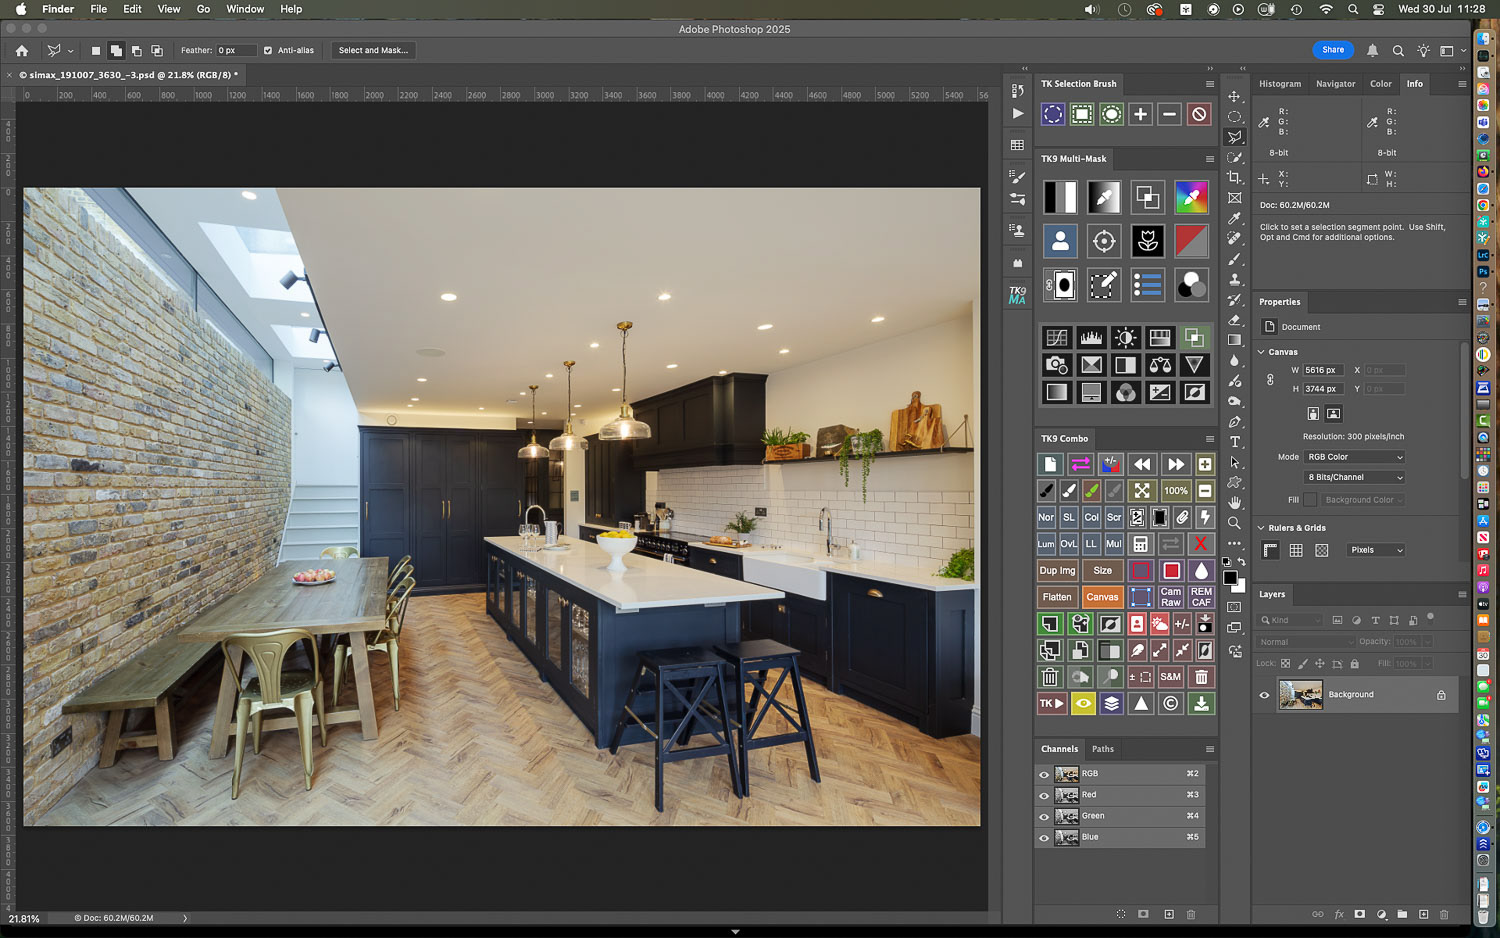
The kitchen image below throws up the age-old problem of mixed light sources in interiors photography: an almost equal input of cool daylight from windows behind the camera position and a skylight at left, plus very warm ornamental lamps, downlighters and LED strip in the room. By white balancing somewhere in between the two, the image still suffers from both blue and yellow casts, as a full white balance correction for each light source cannot be applied simultaneously.
There are other issues too: the large broad daylight light sources have illuminated the room quite evenly, but areas like the exposed brick wall and the wooden flooring could have benefitted from a more accented or directional lighting to render their textures better.
I hope to show here how a quick black and white conversion of an image can be a big help when deciding how to retouch an architectural or interiors image....
I hope to show here how a quick black and white conversion of an image can be a big help when deciding how to retouch an architectural or interiors image....
Please click on the first image in the sequence to view larger versions with captions>>>
Opening the image in Photoshop, there is a lot to address here, but where to start?
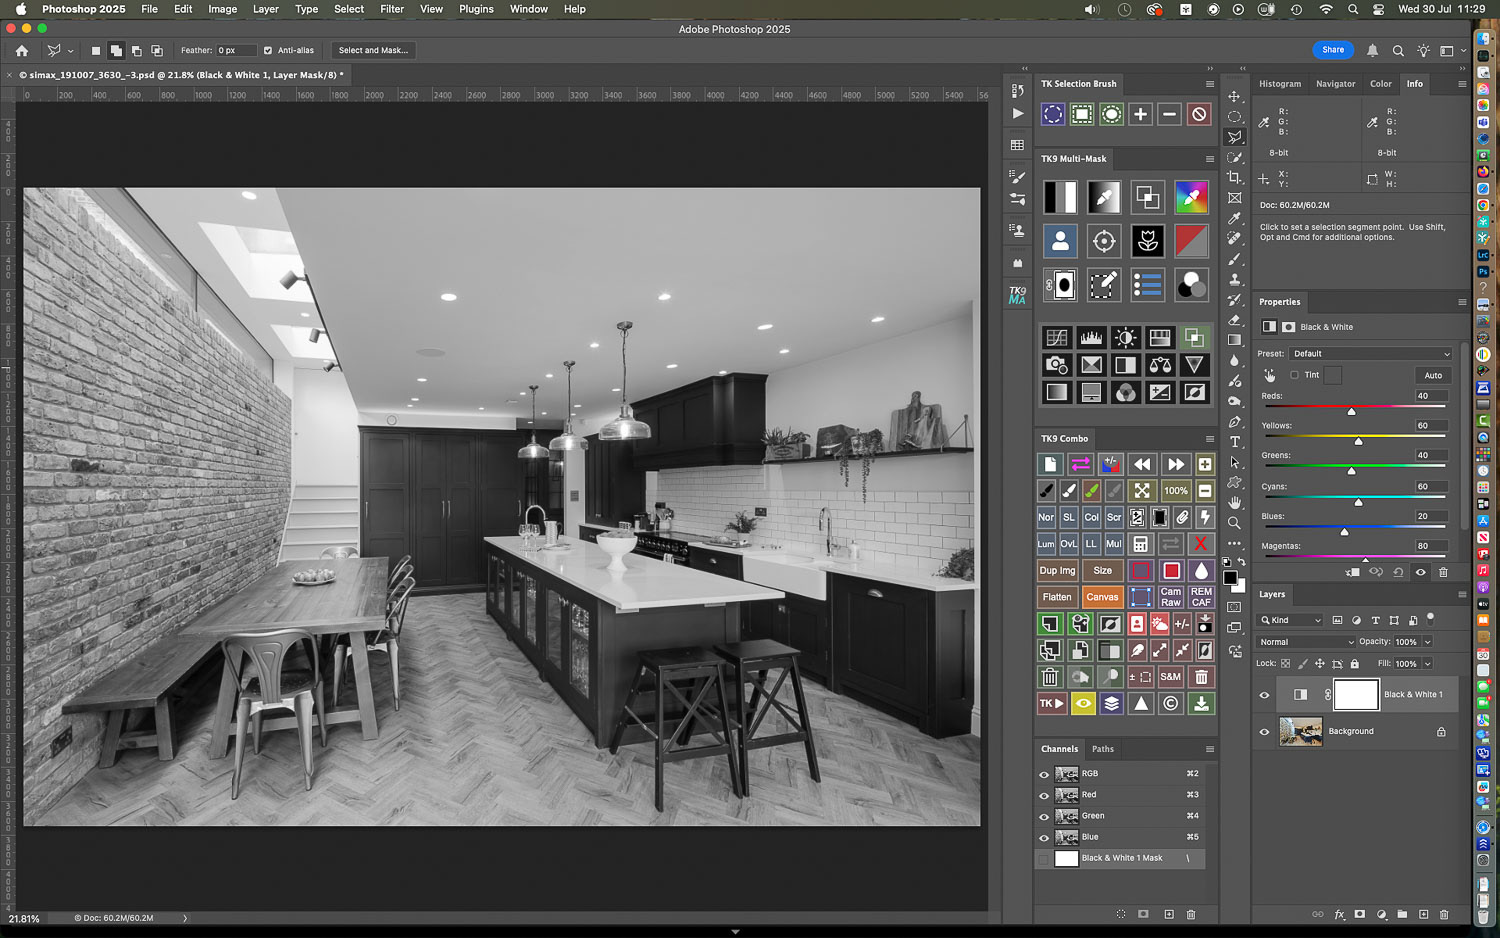
Running a quick black and white conversion non destructive adjustment layer really helps to simplify the image into zones: by checking the layer on and off I can see which supposedly neutral areas are subject to warm or cool color casts and areas with texture which could do with enhancing become more evident...
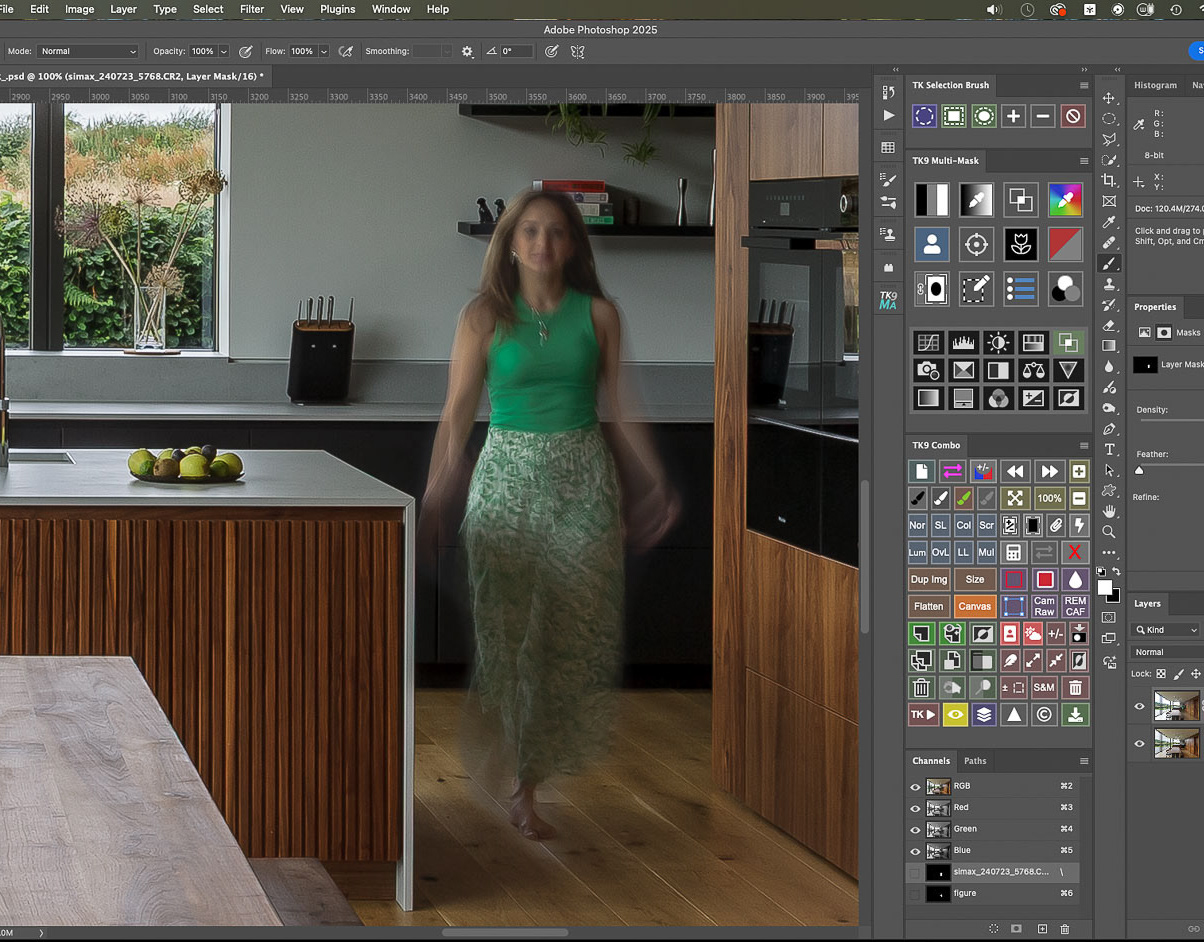
First I'll create a lumunosity mask for the very brightest areas in the image, using the TK9 plugin and sampling from the ceiling...
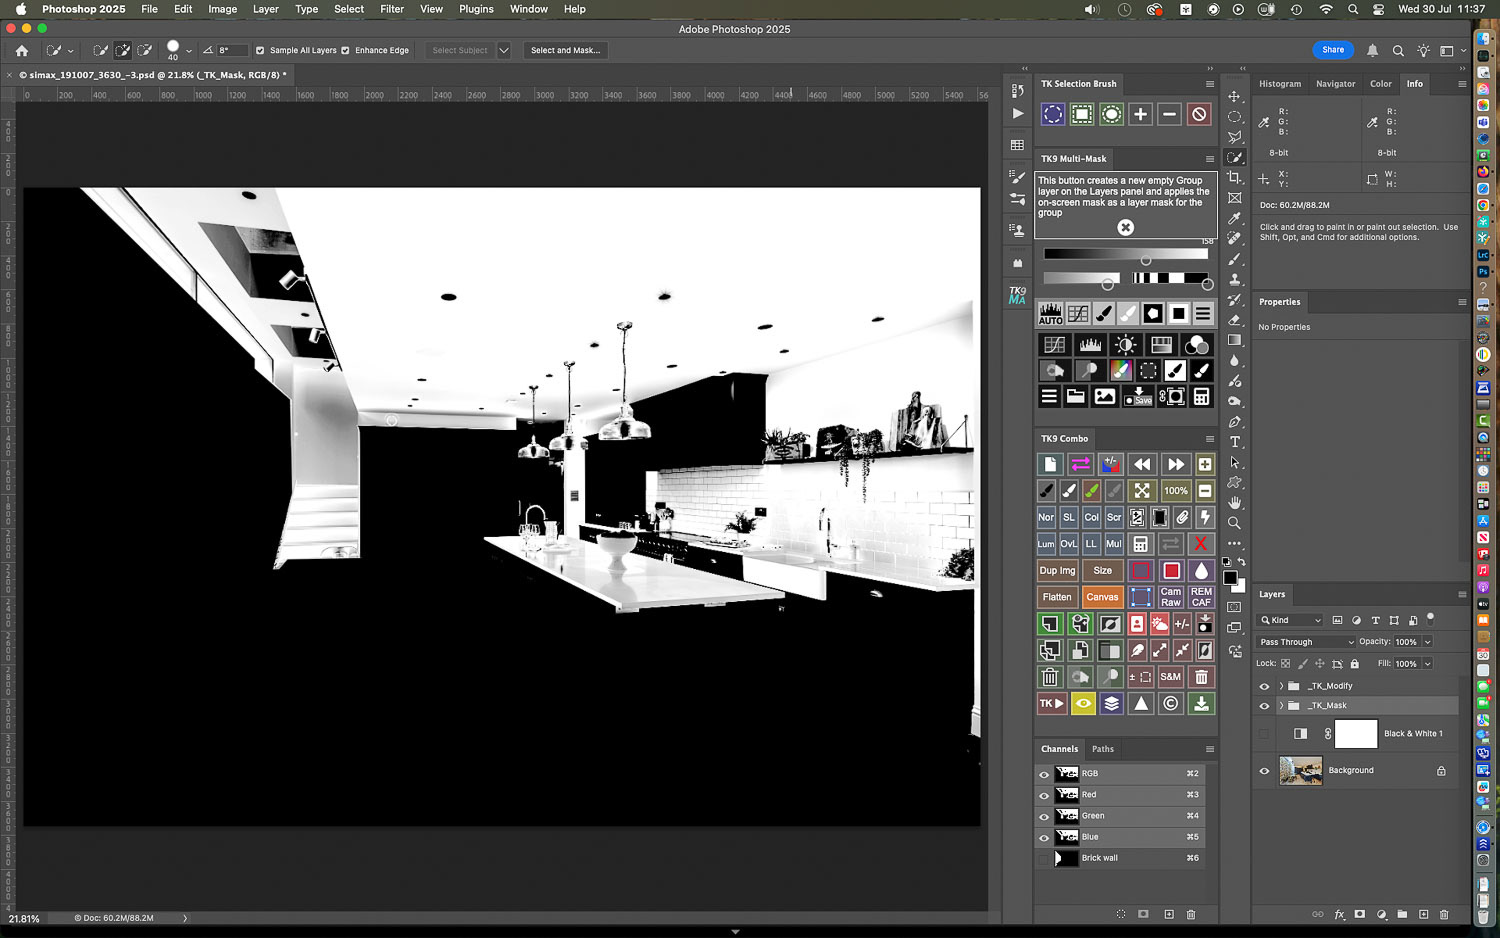
Using TK9's supplementary controls I can confine the luminosity mask to the lighter areas in the image I want to address....

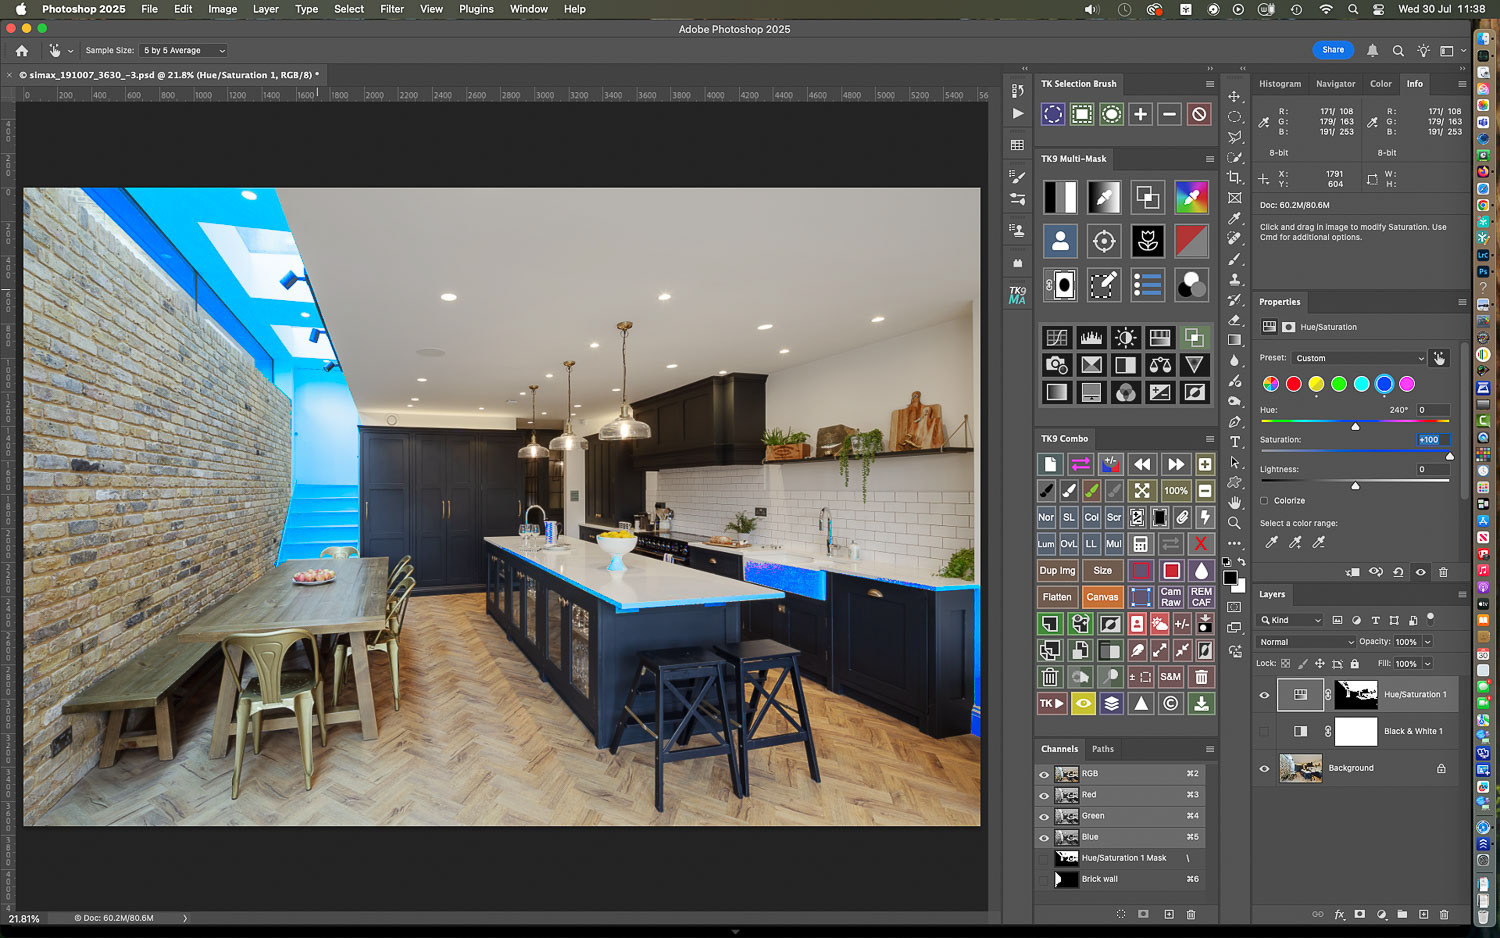
With the mask in place, a Hue Saturation adjustment layer is created: dragging across the ceiling in the positive saturation direction shows just how much yellow cast is present in that area....
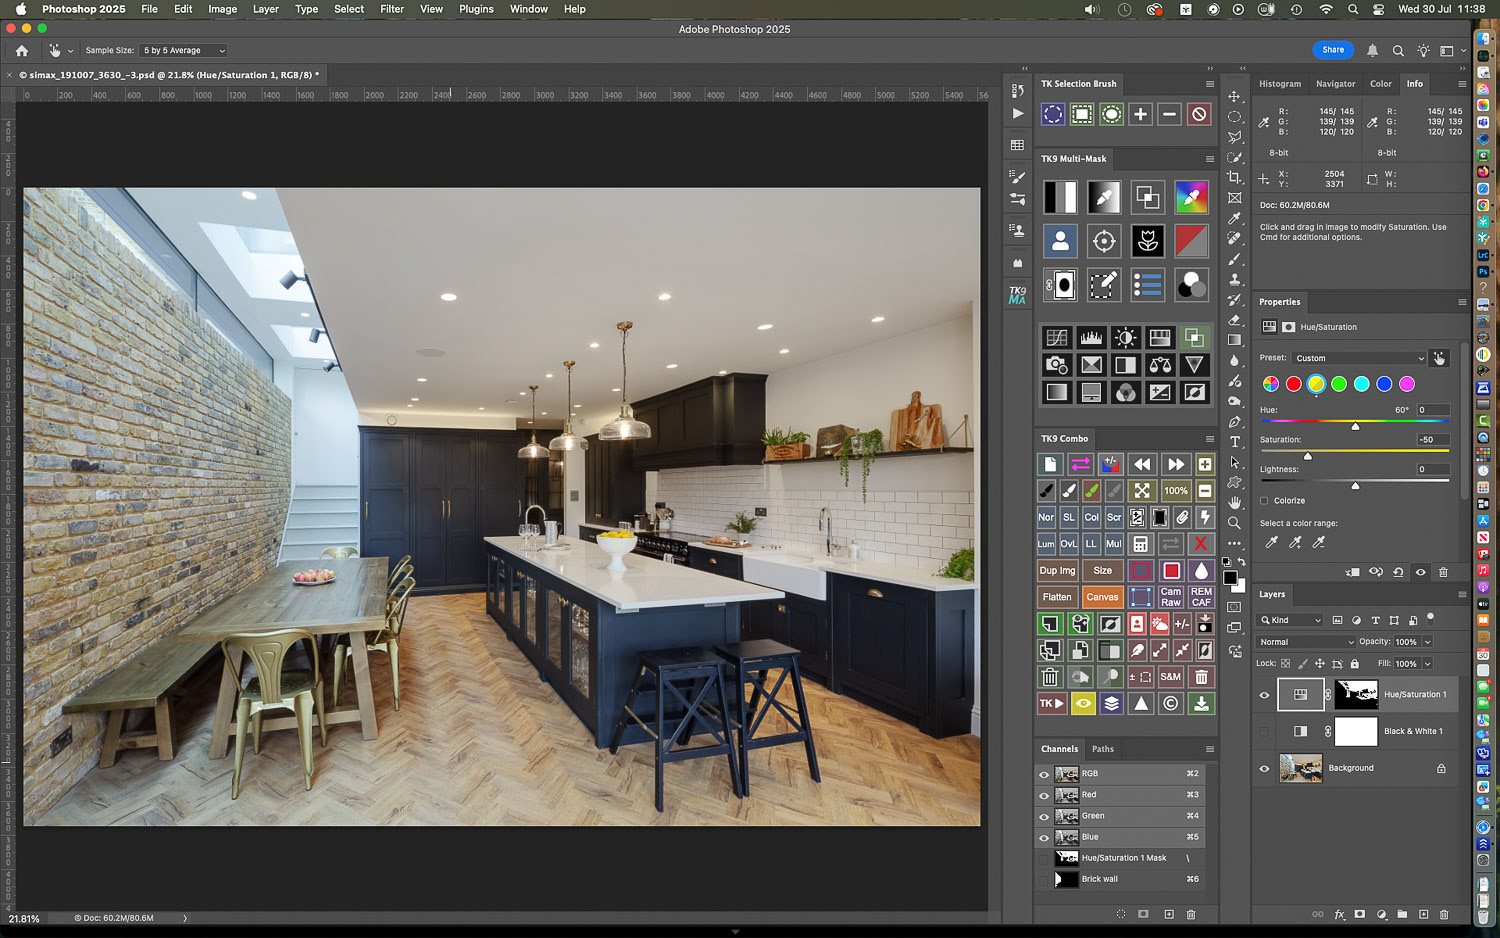
I'll set the slider to minus 50 saturation to remove much of the cast but stopping short of removing all of the warm hue...
In the same way (and using the same mask) I can target the blue cast from the daylight entering the room via the skylight...

This time I need a full 100 per cent blues desaturation to clear that area: checking out the Info palette at top right enables me to get similar RGB output numbers for a neutral result...
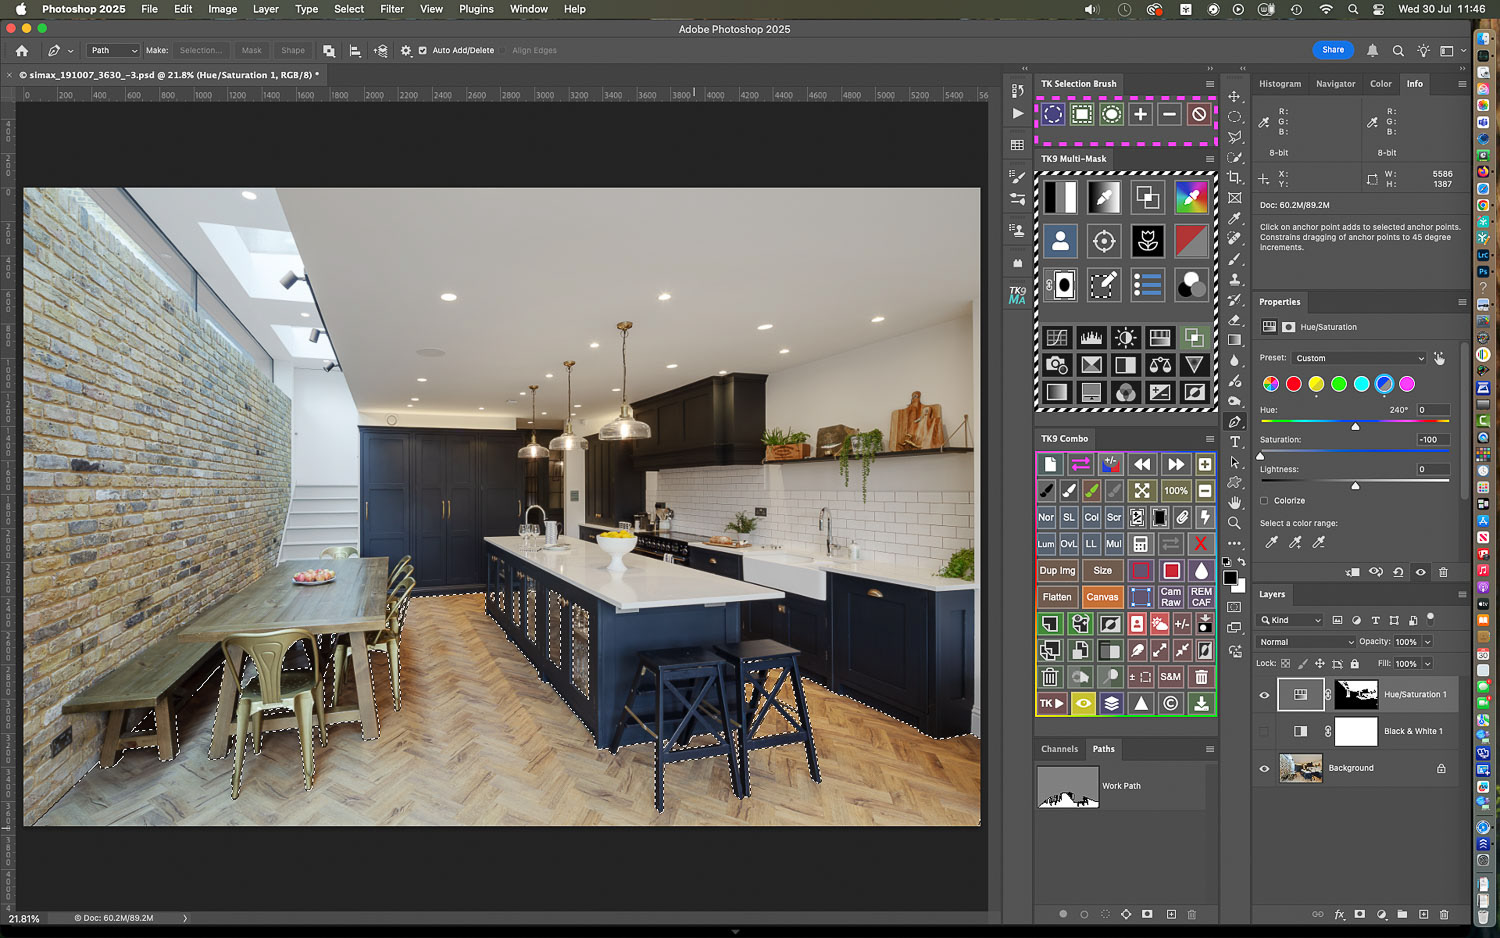
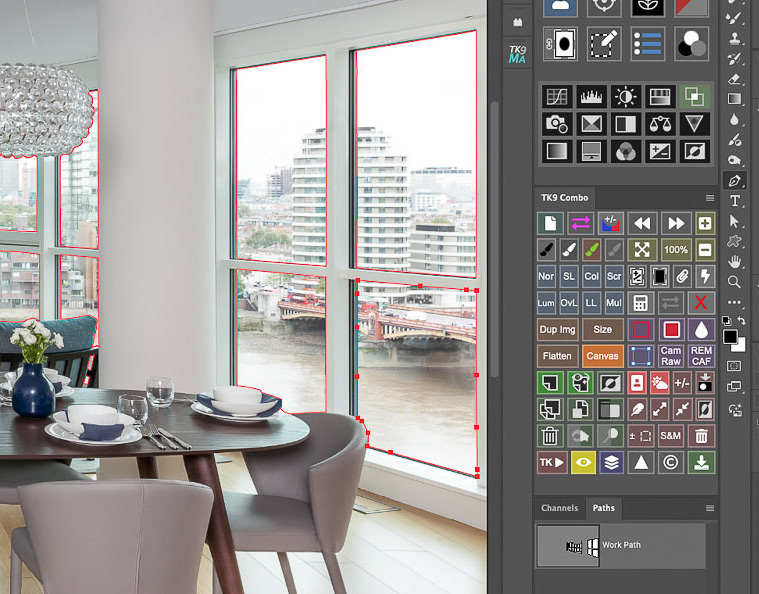
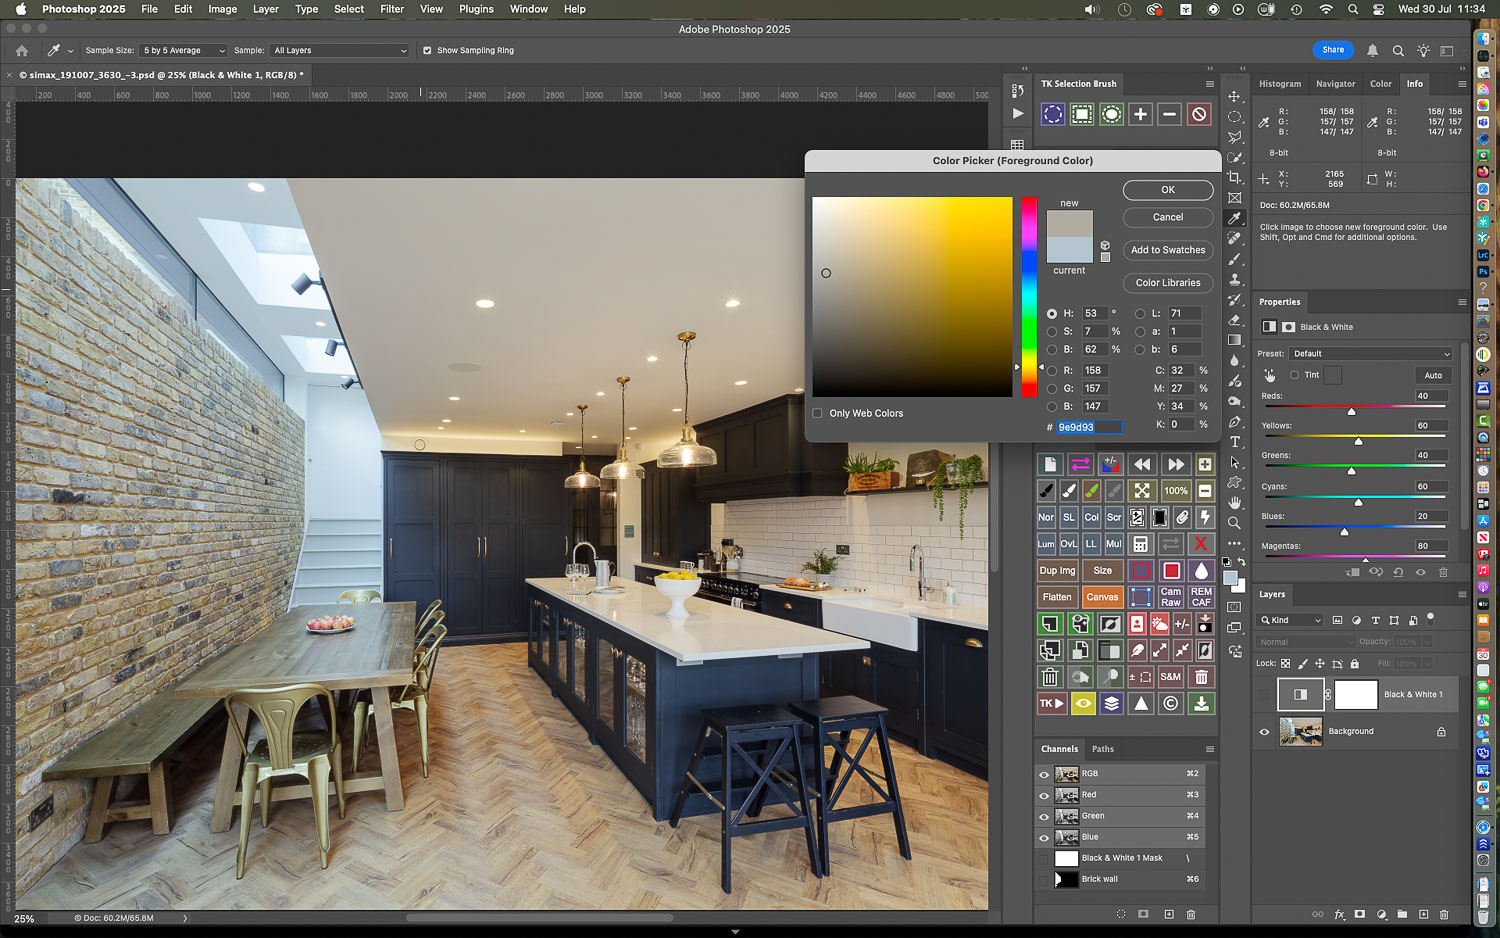
With a selection made for the floor (via the Pen Tool) I can address the warm casts there...
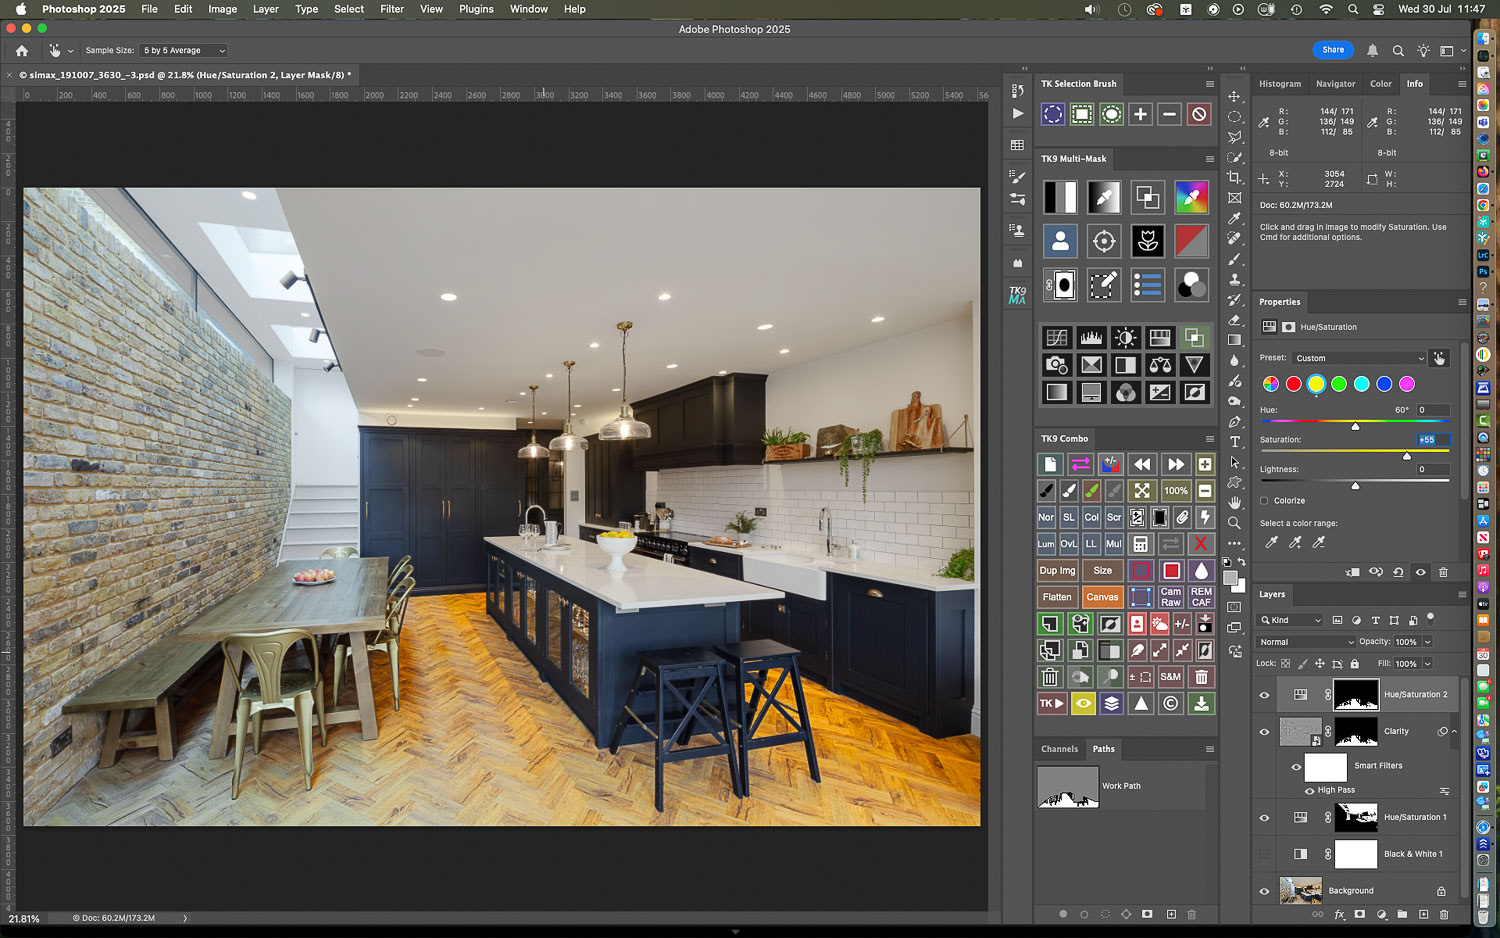
Again, by clicking in the image on a yellow hue and dragging right, I can ramp up the saturation value to get an idea of the areas affected on the floor...
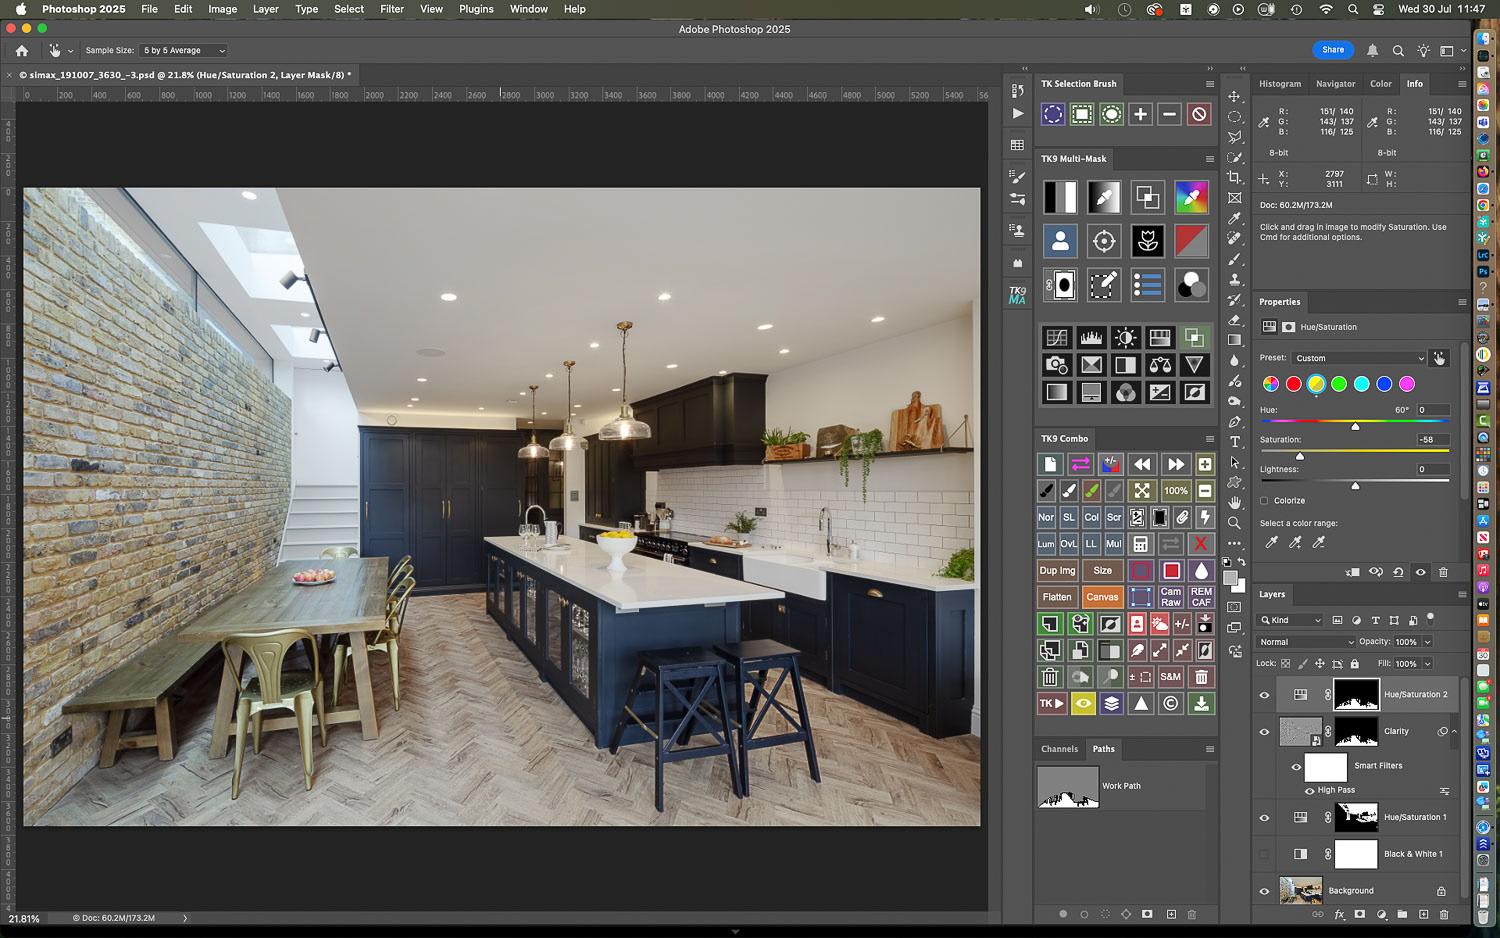
Settling back to value of minus 58 helps to restore the natural hue of the wood. I also applied a clarity adjustment to bring out the texture of the floor....

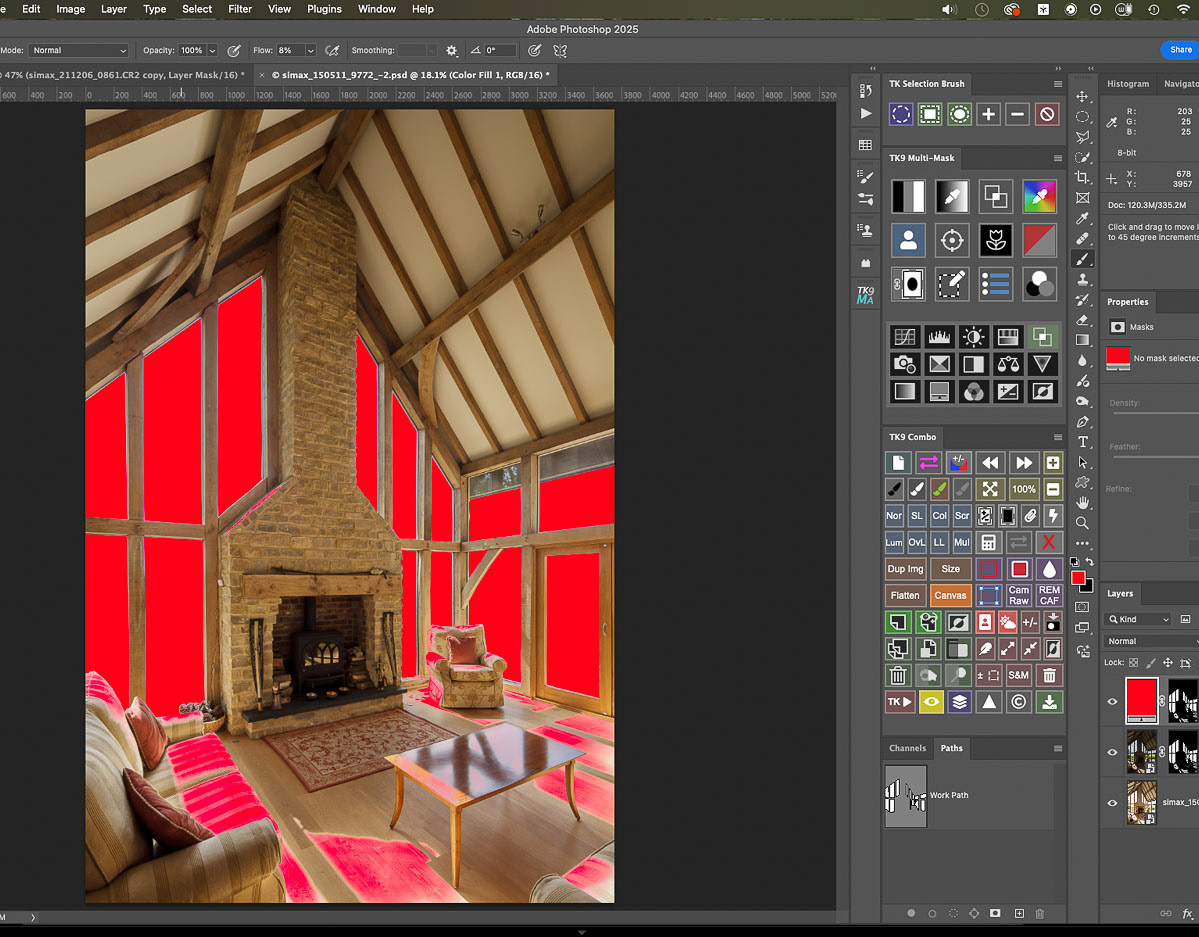
Like the floor, the black and white preview drew my attention to the exposed brick wall: this could also do with some texture enhancement...
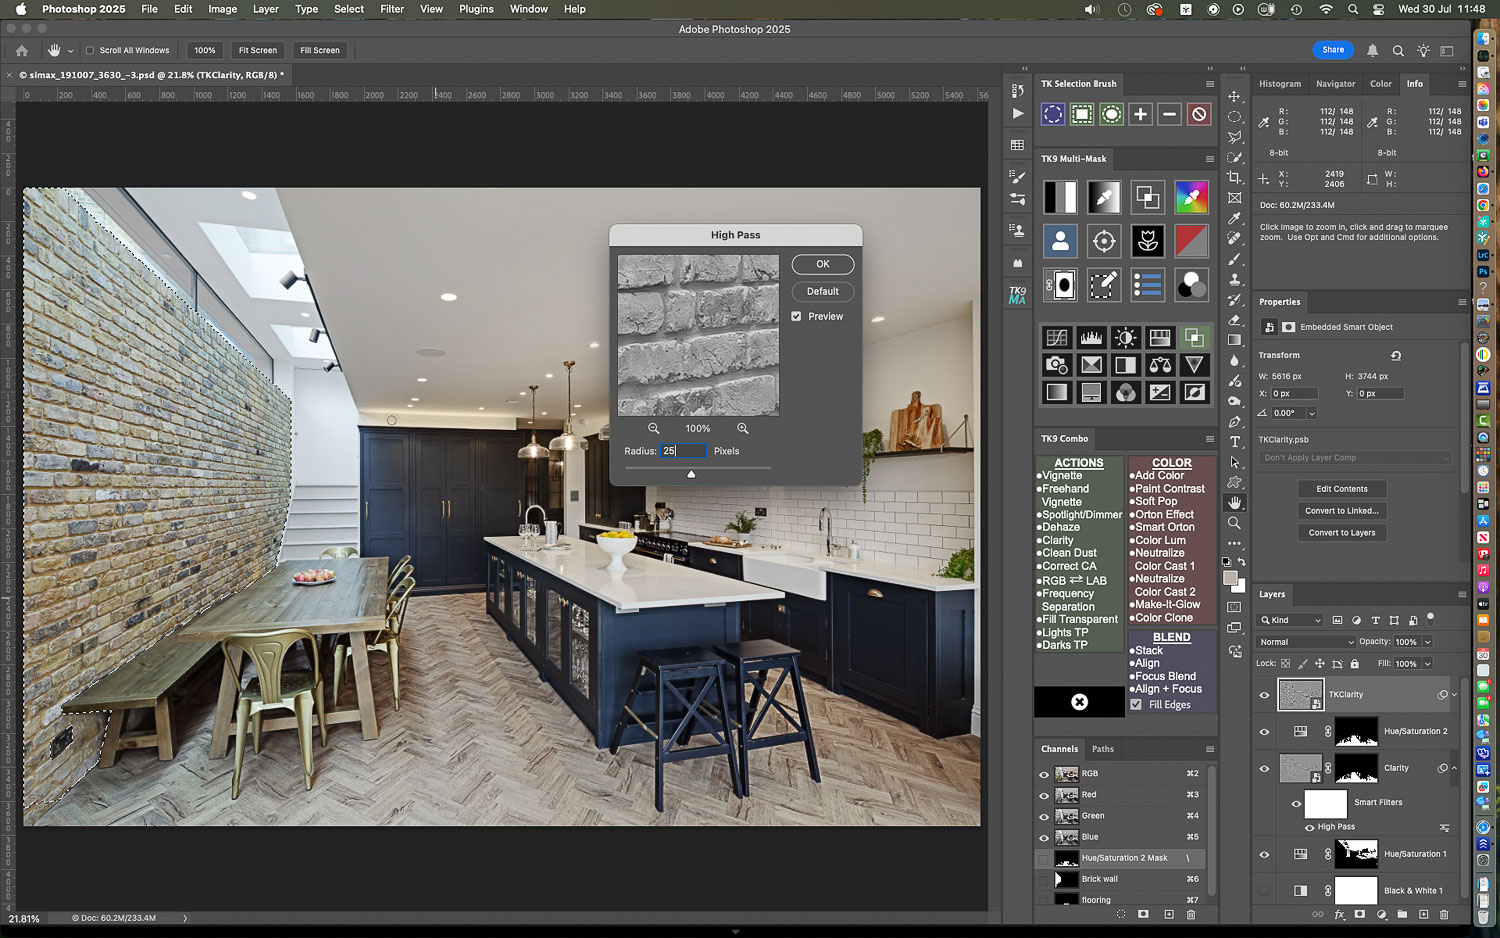
Using a Clarity action provided by the TK9 plugin (basically a high pass filter) a smart object with adjustable filter is created...

And the effect is confined to the wall by loading a selection made earlier and creating a layer mask for the smart object Clarity layer.

here's the opening image....

And the adjustments in place....
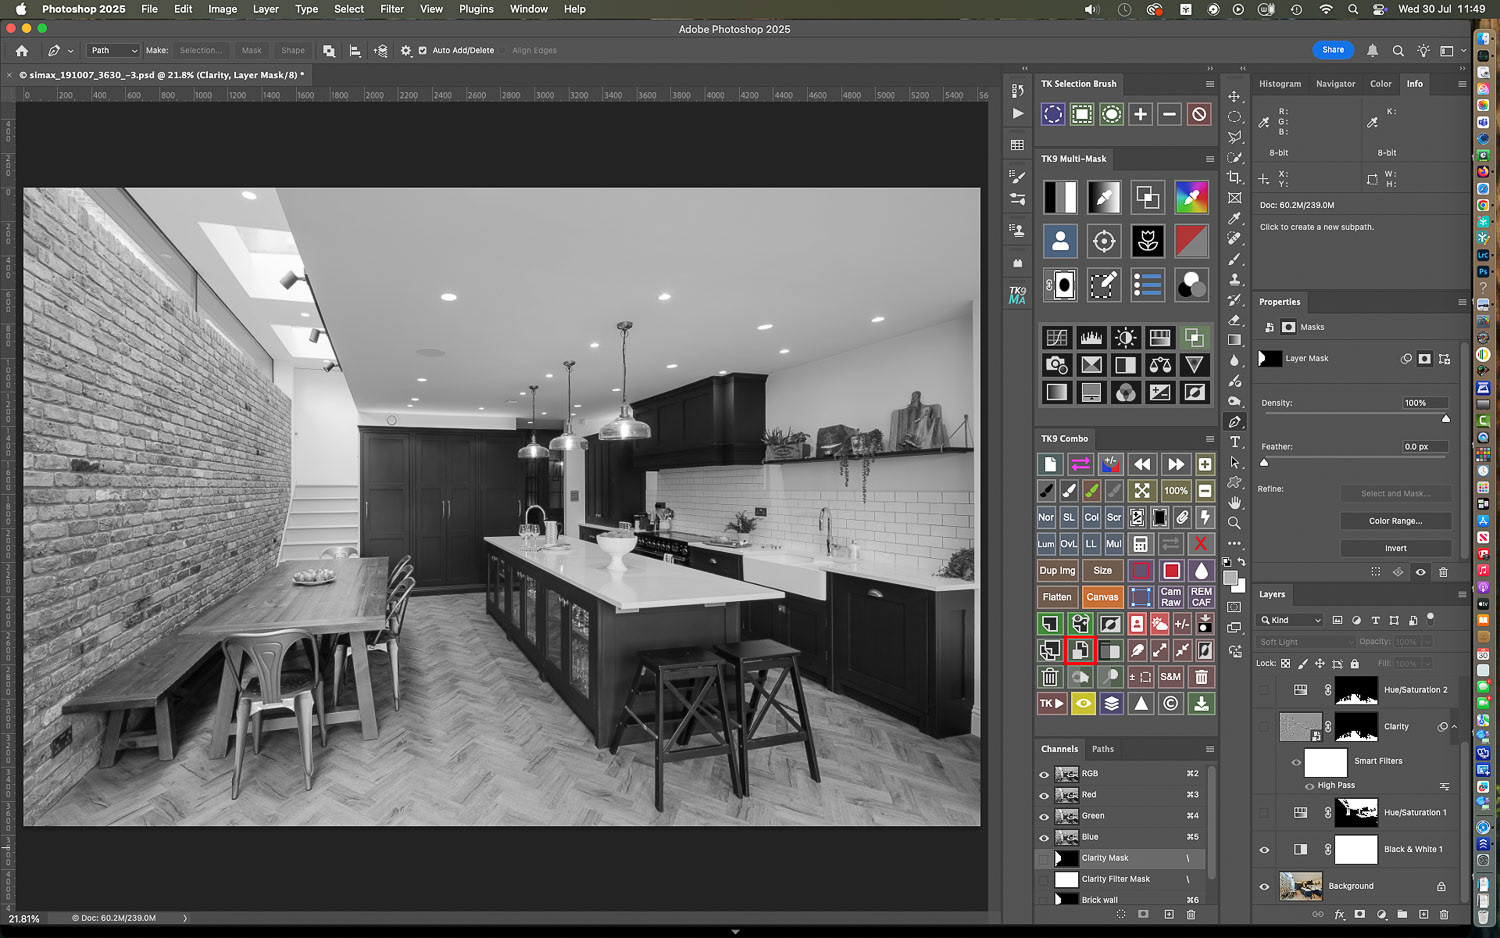
I really feel that the black and white preview layer can be such a help when analysing an image...

so that tonal and color adjustments can be carried out effectively.
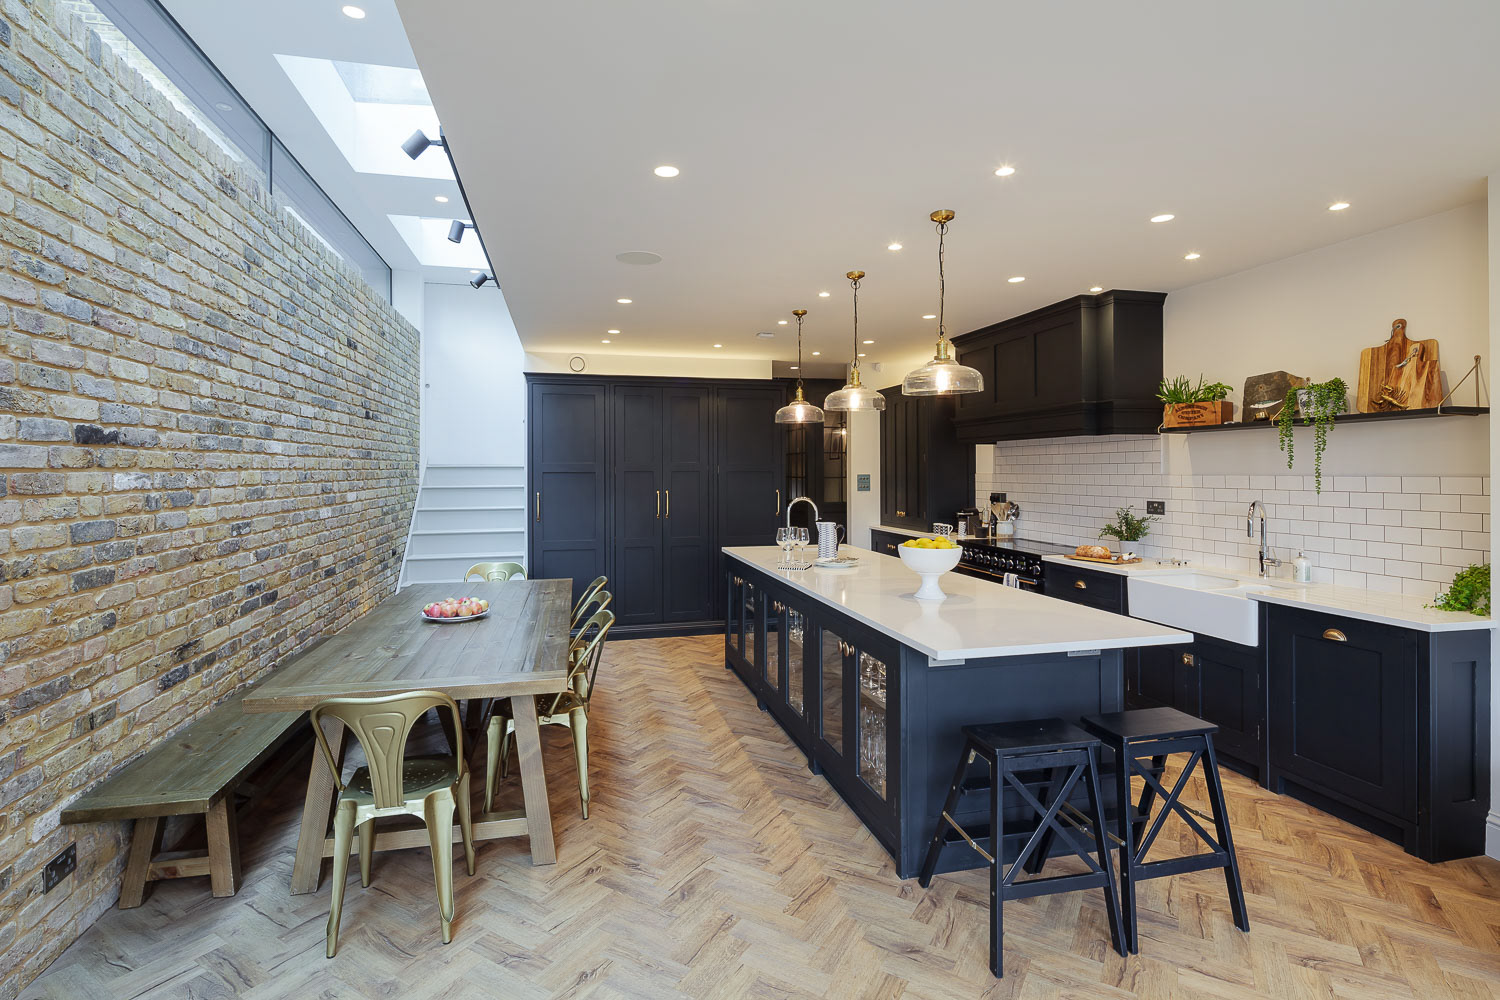
BEFORE : mixed light sources and diffuse daylight don't help the scene...
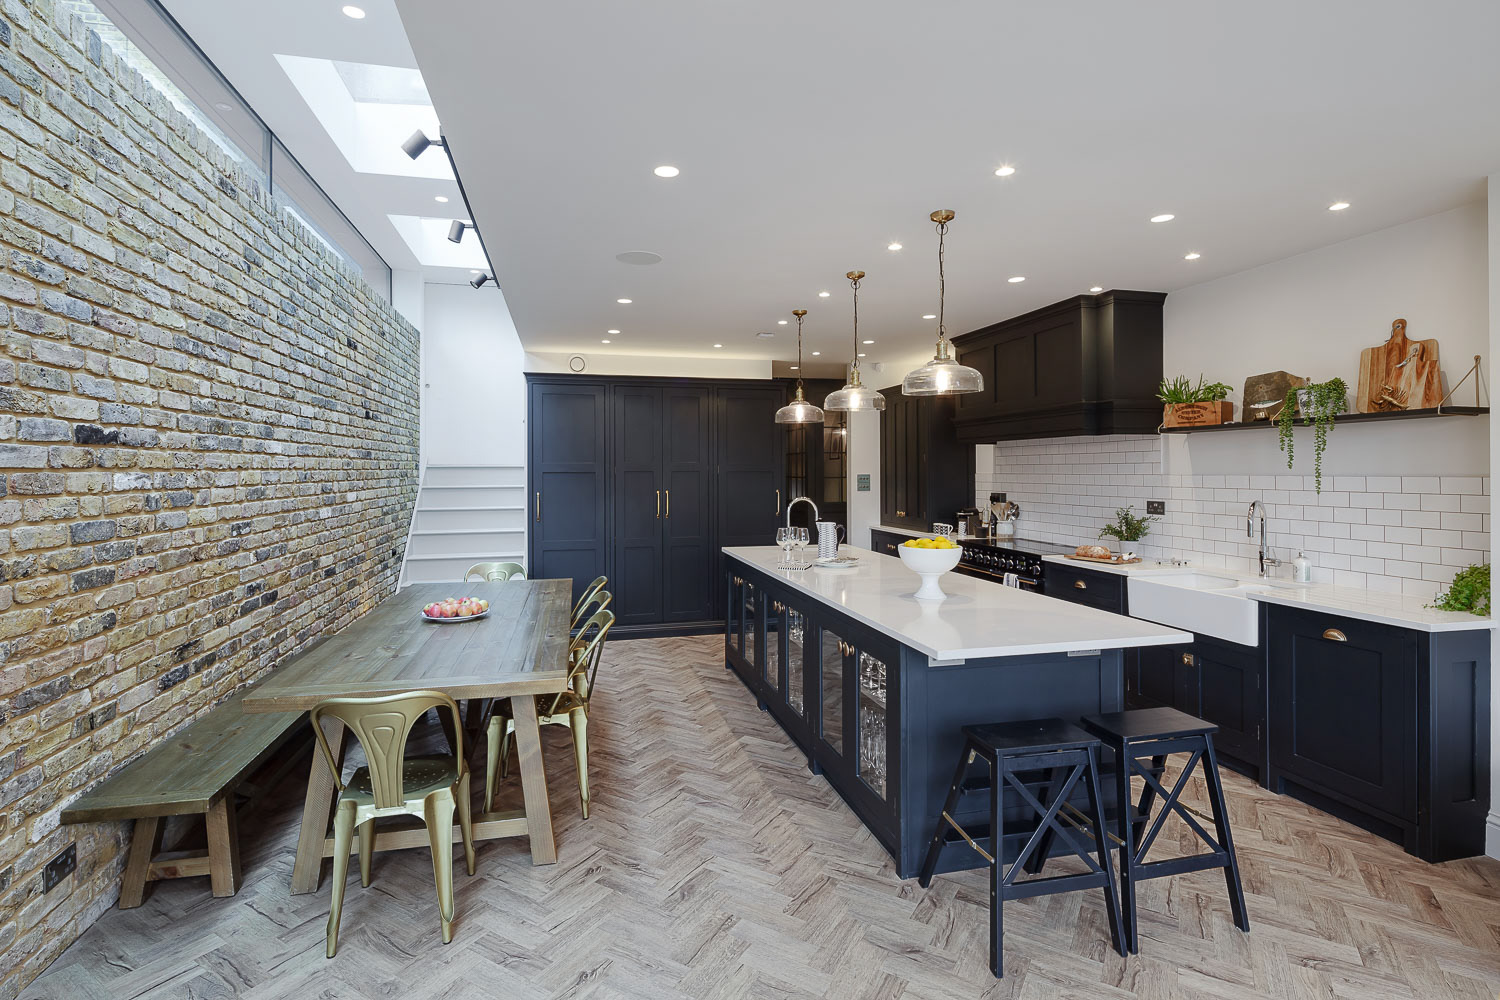
AFTER : a crisper result with color casts reined in and textures enhanced.
Got a problem image?
Or do you just prefer being behind the camera rather than chained to the computer?
If so, why not look into outsourcing your image editing and retouching?
If so, why not look into outsourcing your image editing and retouching?
Feel free to contact me at any time: I can lighten your processing load at very reasonable per image rates!