Using the TK9 plug-in Frequency Separation script to retouch architectural and interiors images.
Frequency separation in Photoshop is the go-to treatment for addressing wrinkled or uneven fabrics in interiors images and also blemishes in building structures.
It enables you to split the colors and tones of an image from its textures, loading these distinct elements on separate layers. You can then use different tools to smooth out irregular variations in the former and to remove unsightly marks/ elements from the latter. This makes for a better result than simply working on a retouching layer with the clone stamp tool; sampling both color and texture makes retouching very tricky.
It enables you to split the colors and tones of an image from its textures, loading these distinct elements on separate layers. You can then use different tools to smooth out irregular variations in the former and to remove unsightly marks/ elements from the latter. This makes for a better result than simply working on a retouching layer with the clone stamp tool; sampling both color and texture makes retouching very tricky.
But it can take some time setting up the required layers with quite different properties.
Thankfully the TK9 plug-in by Tony Kuyper contains a really useful action which will create a Frequency Separation folder with all the layers ready to go at the touch of a button,
In the image below, I'll walk through how I use it to sort out a stubborn floor covering!
Thankfully the TK9 plug-in by Tony Kuyper contains a really useful action which will create a Frequency Separation folder with all the layers ready to go at the touch of a button,
In the image below, I'll walk through how I use it to sort out a stubborn floor covering!
please click on the first image in the sequence below to view full screen with captions>>>
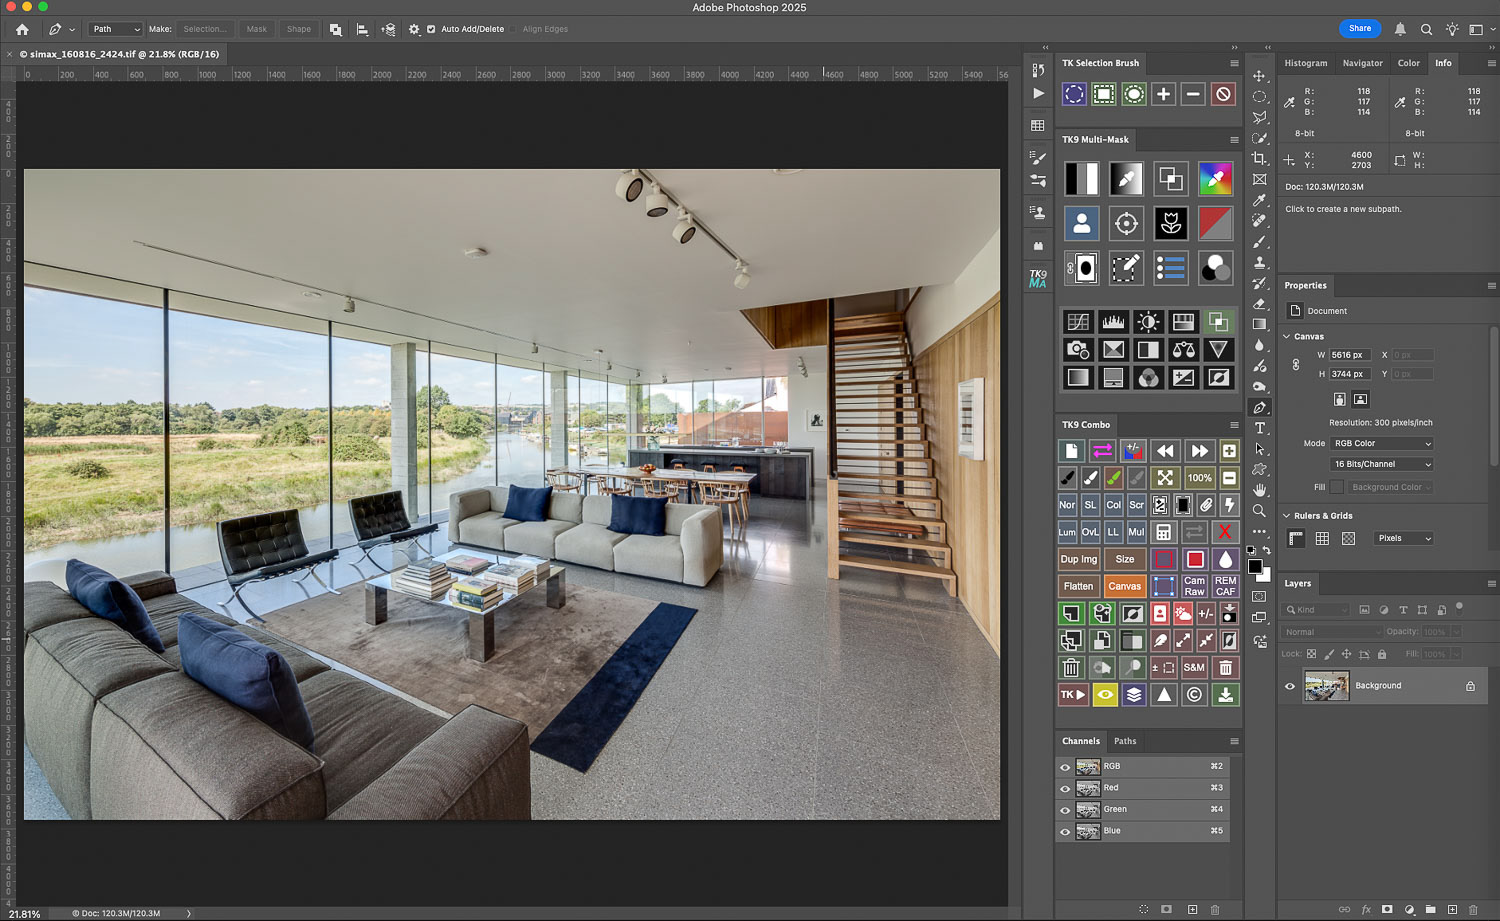
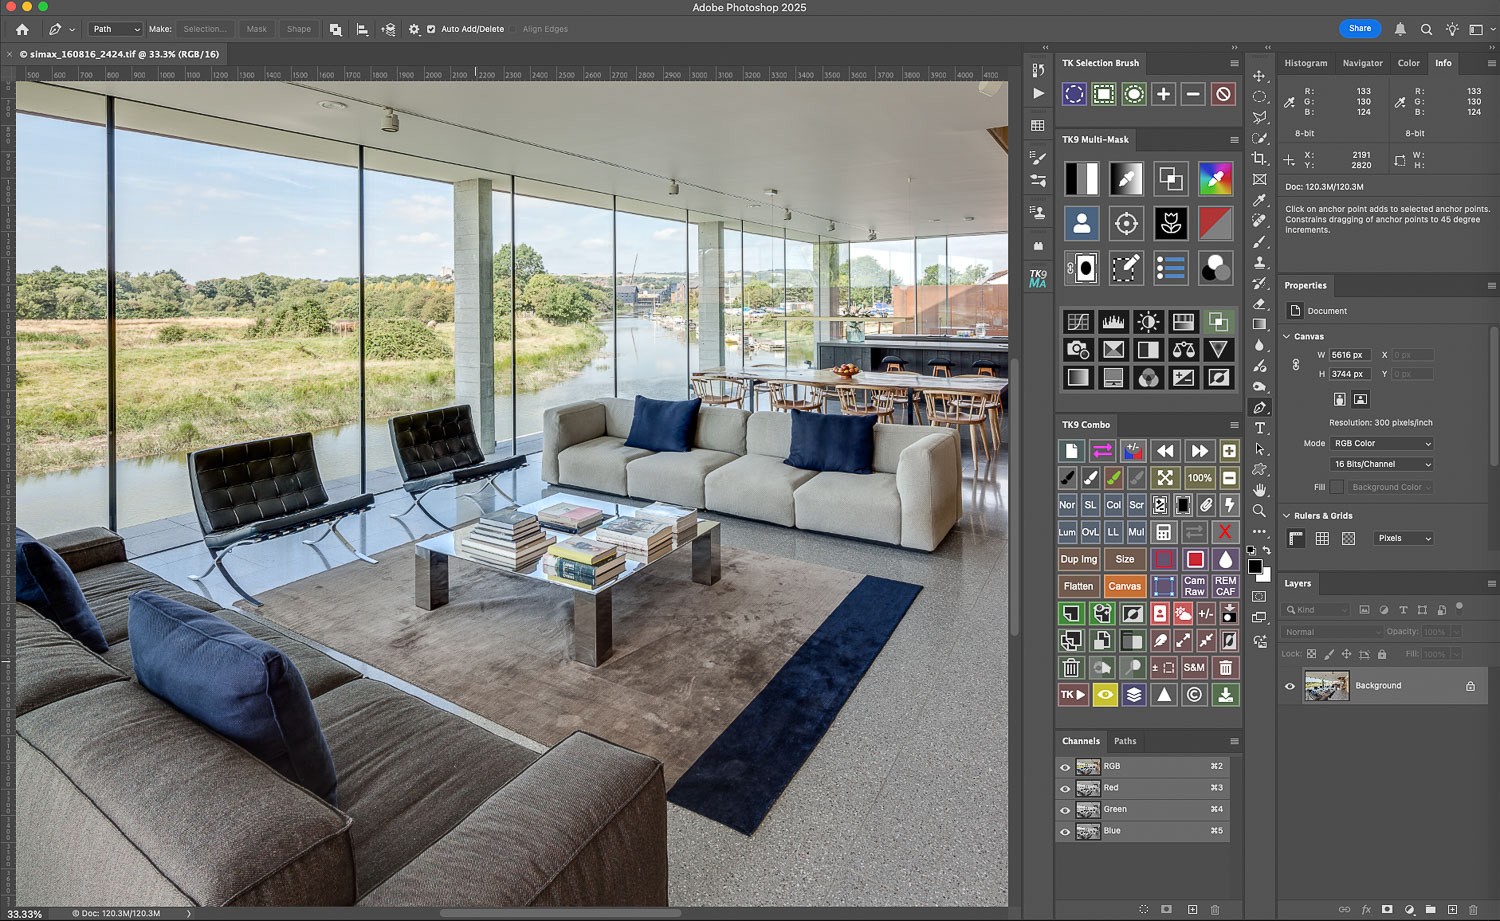
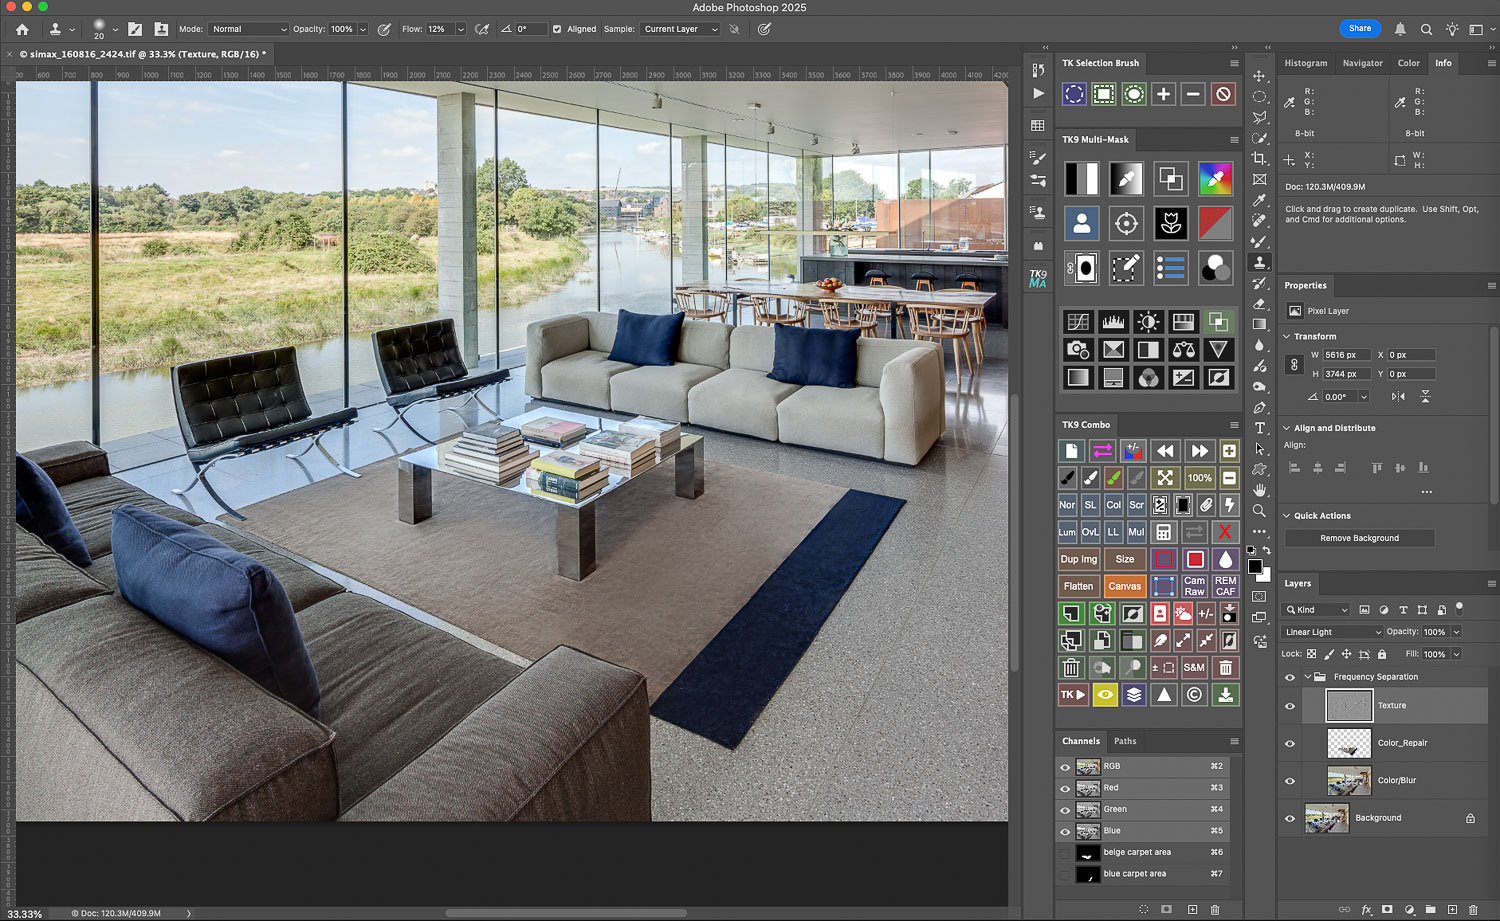
Opening the processed image in Photoshop: the rug obviously needs work...
The TK9 plugin for Photoshop contains a super useful script located in the actions section of their Combo panel...

Simply clicking "Frequency Separation" ....
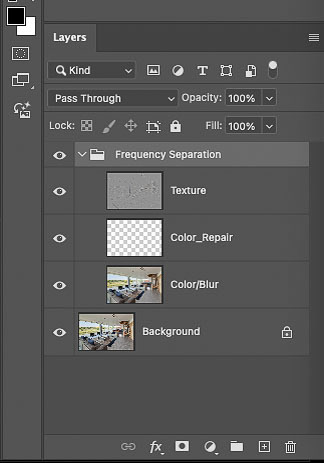
creates a folder containing all the required layers : a color/ blur layer with a repair layer above it (so that adjustments can be walked back if needed) and a texture layer: this saves SO much time!

Switching off the visibility of the texture layer and selecting the color/ blur layer brings up the Gaussian blur dialog box with a suggested blur of 10....
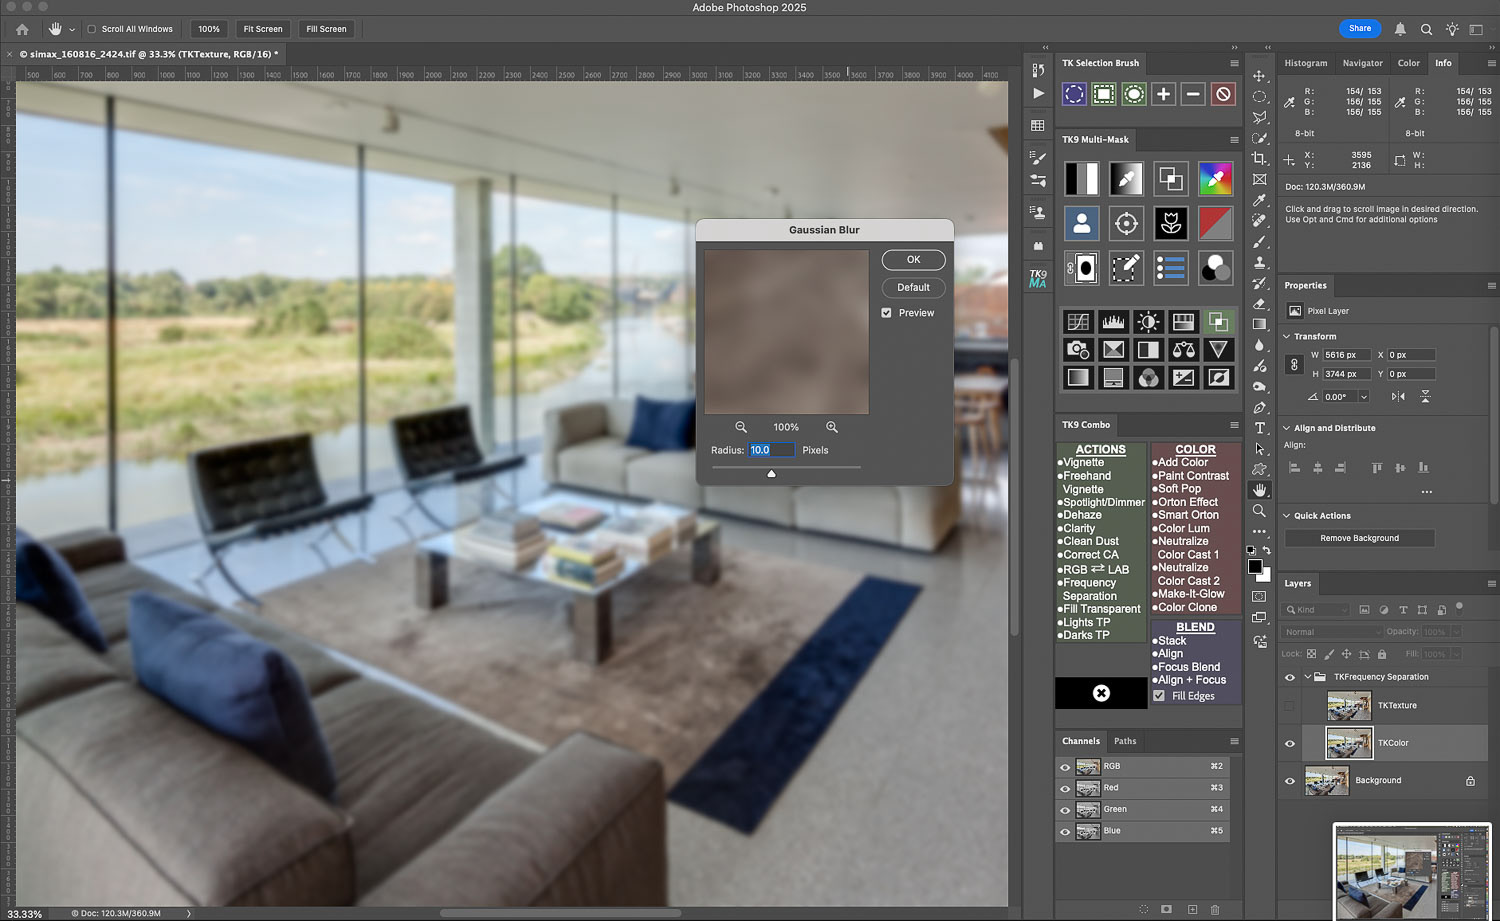
Clicking on the preview window image will toggle the blur effect: aim to apply enough blur just so that textural details are fully softened out...

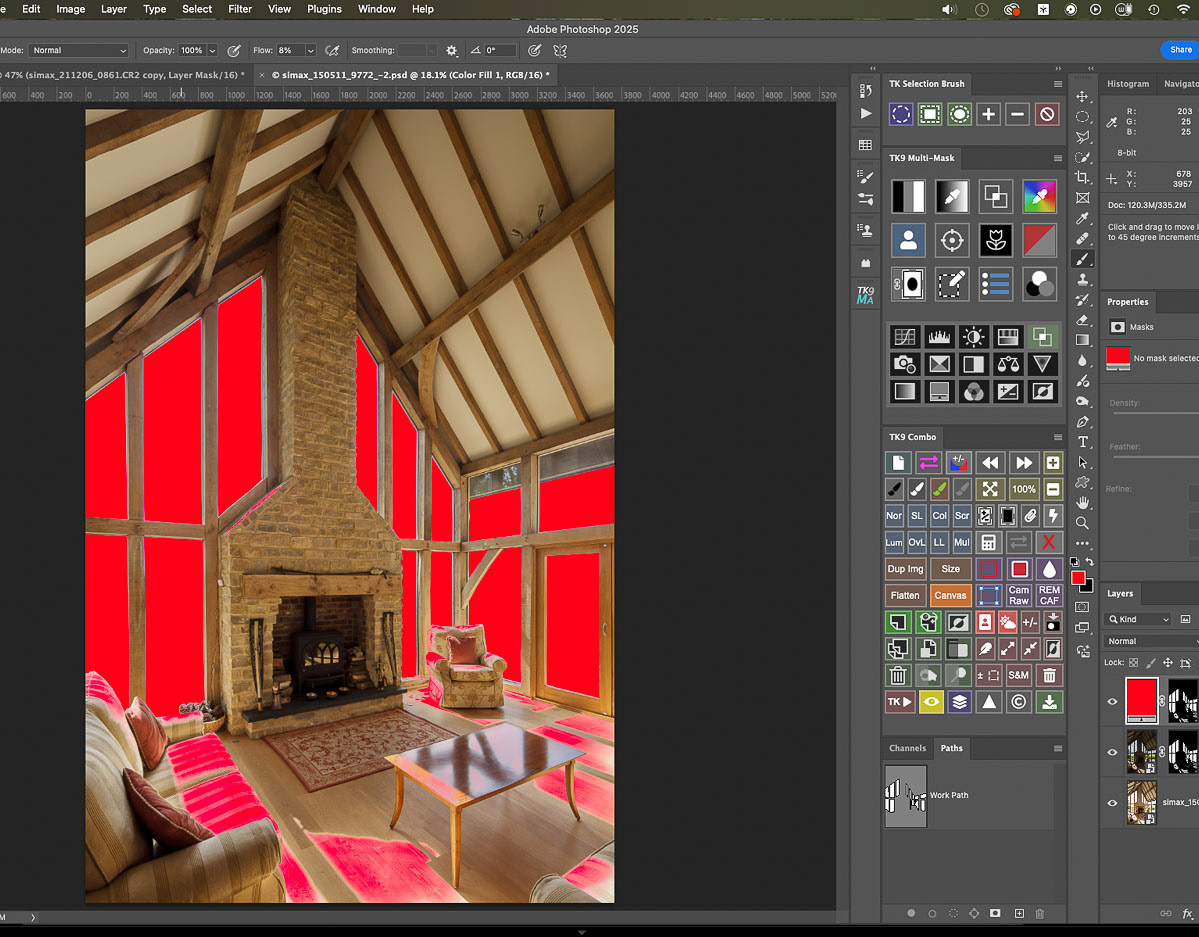
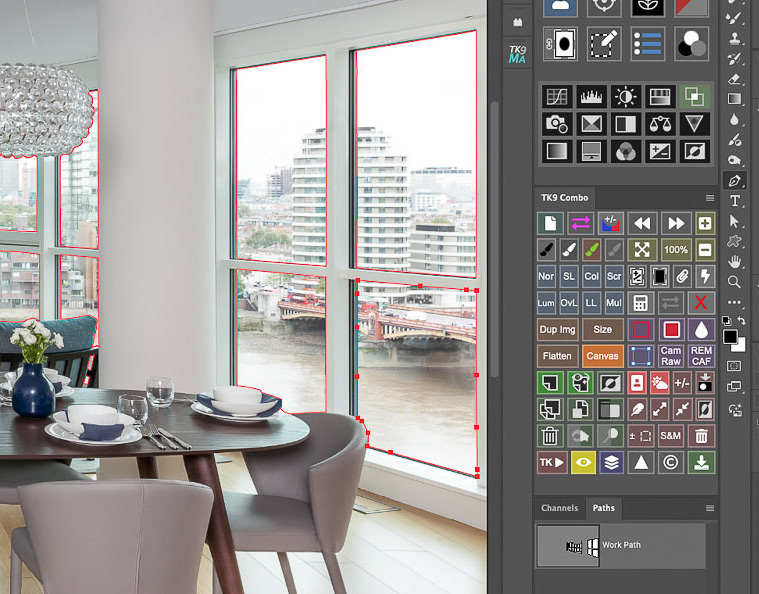
I actually like to select the area I am working on and to save it as a channel for future access....
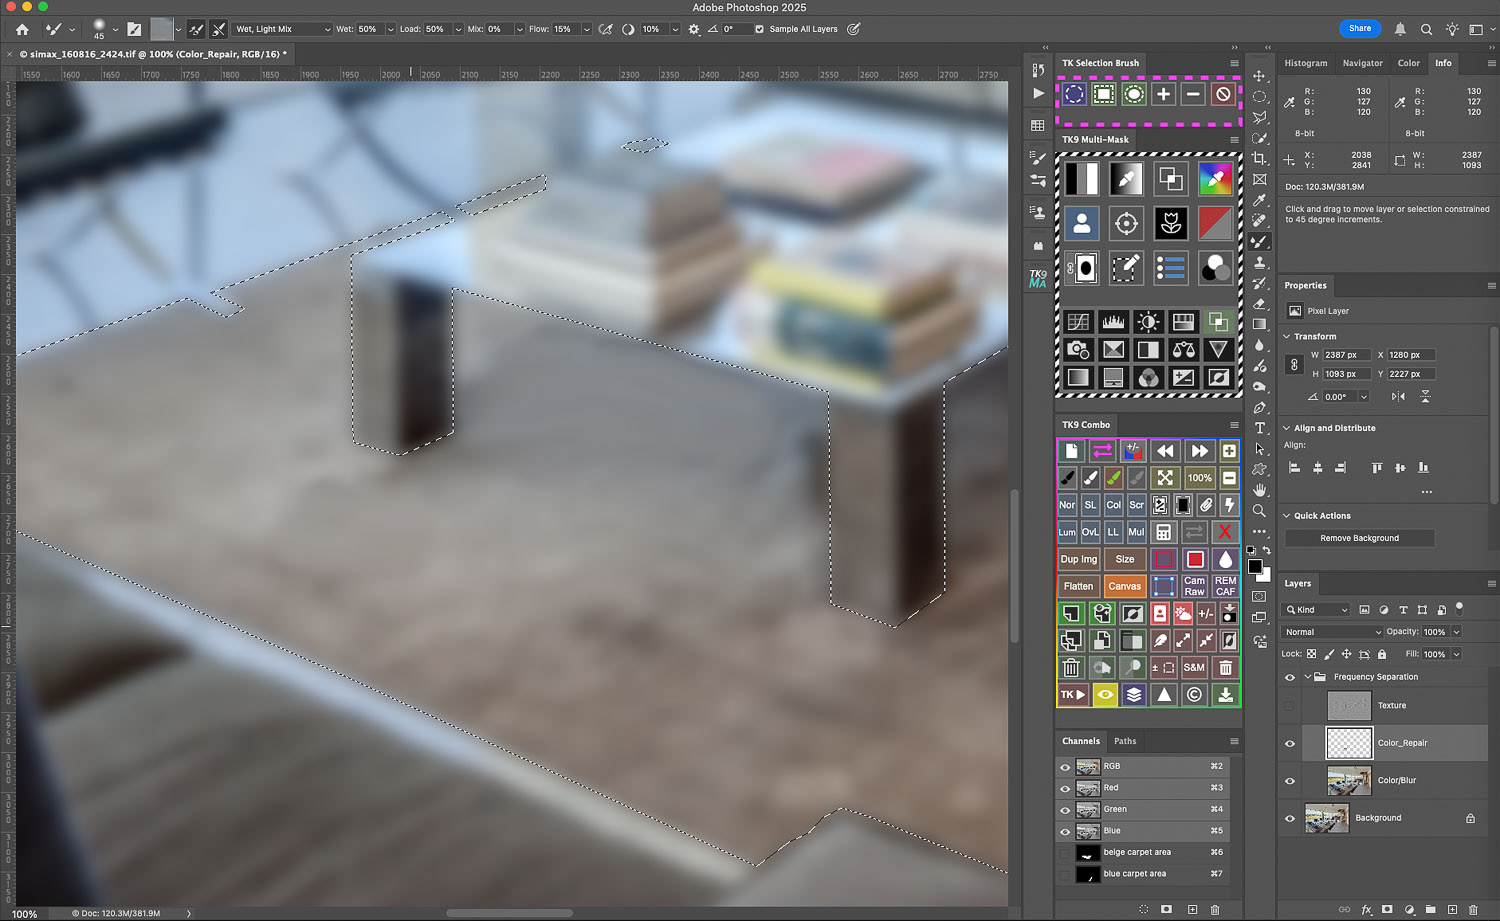
With the area selected, I select the Mixer Brush Tool (TK9 loads some good starting point tool settings but remember to set it to "Sample All Layers". Then I can work on the colors and tones (with the textural details protected) : using the brush, colored areas can be blended together for a more homogenous appearance...
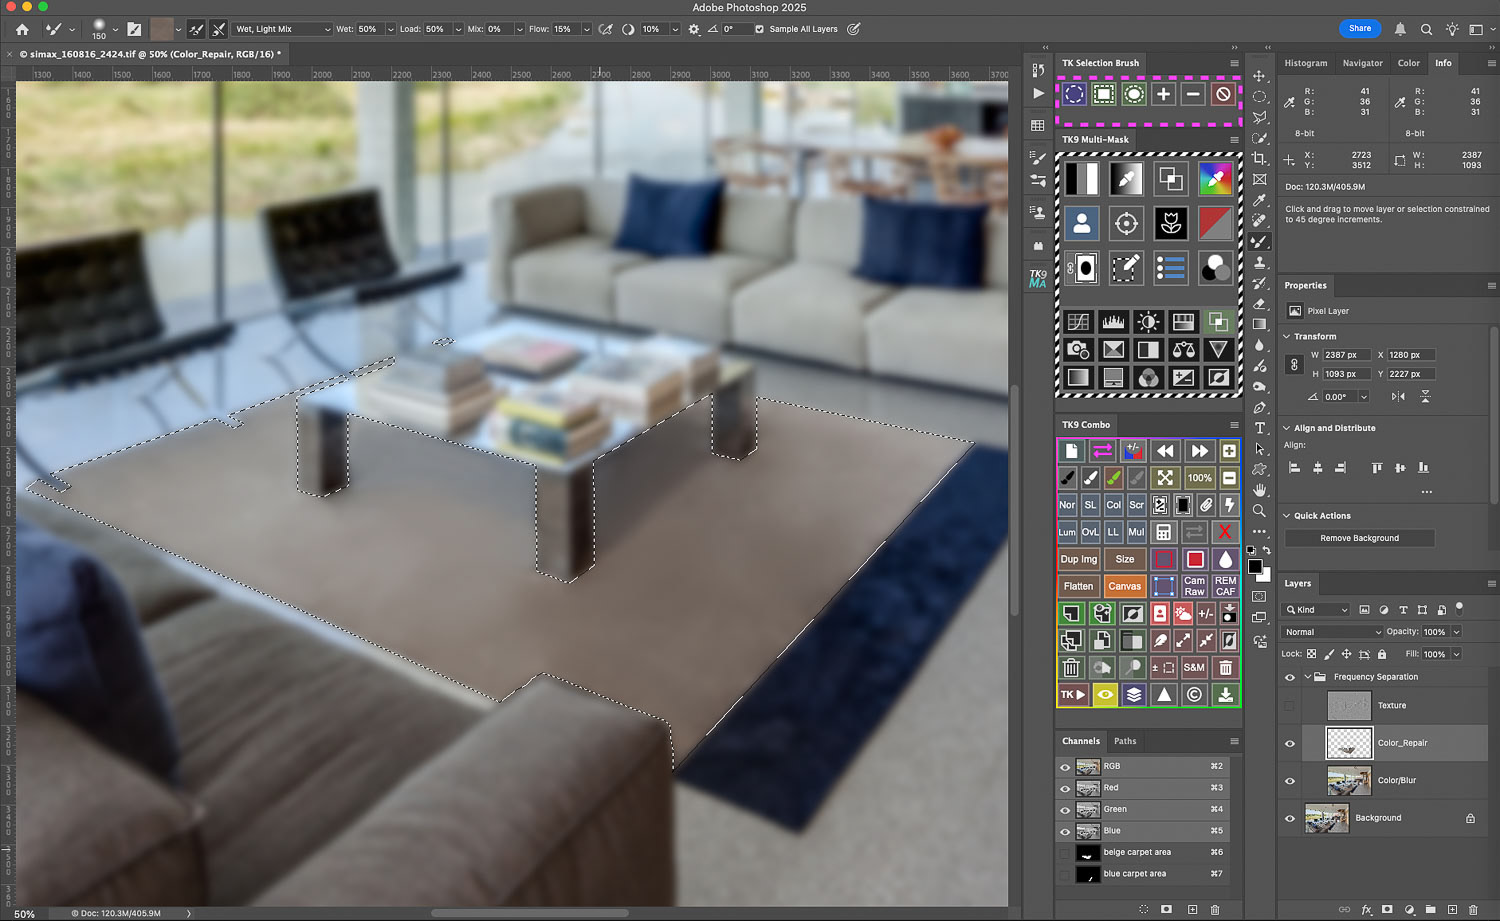
Soon the beige section of the rug is a more uniform tone, with logical shadows retained...
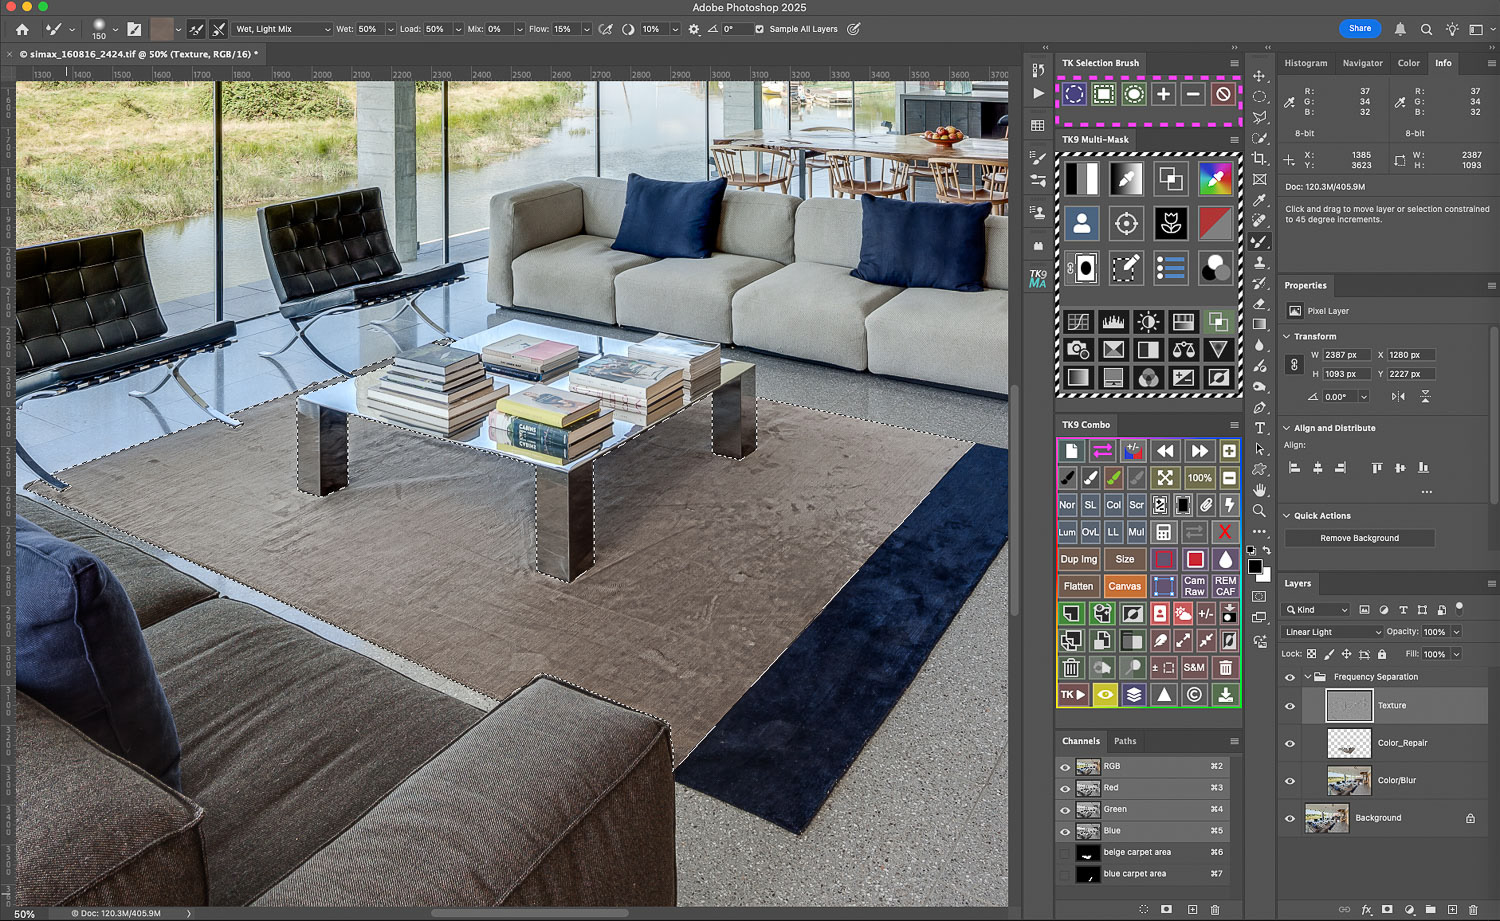
Now the texture layer can be selected, which overlays the textural details not repaired by the color layer treatment...

Using the Clone Stamp Tool with a low flow setting, some of the wrinkles etc can be removed: it's important to set the tool to sample the "Current Layer" but TK9 will do this for you whenever you select this layer and tool!
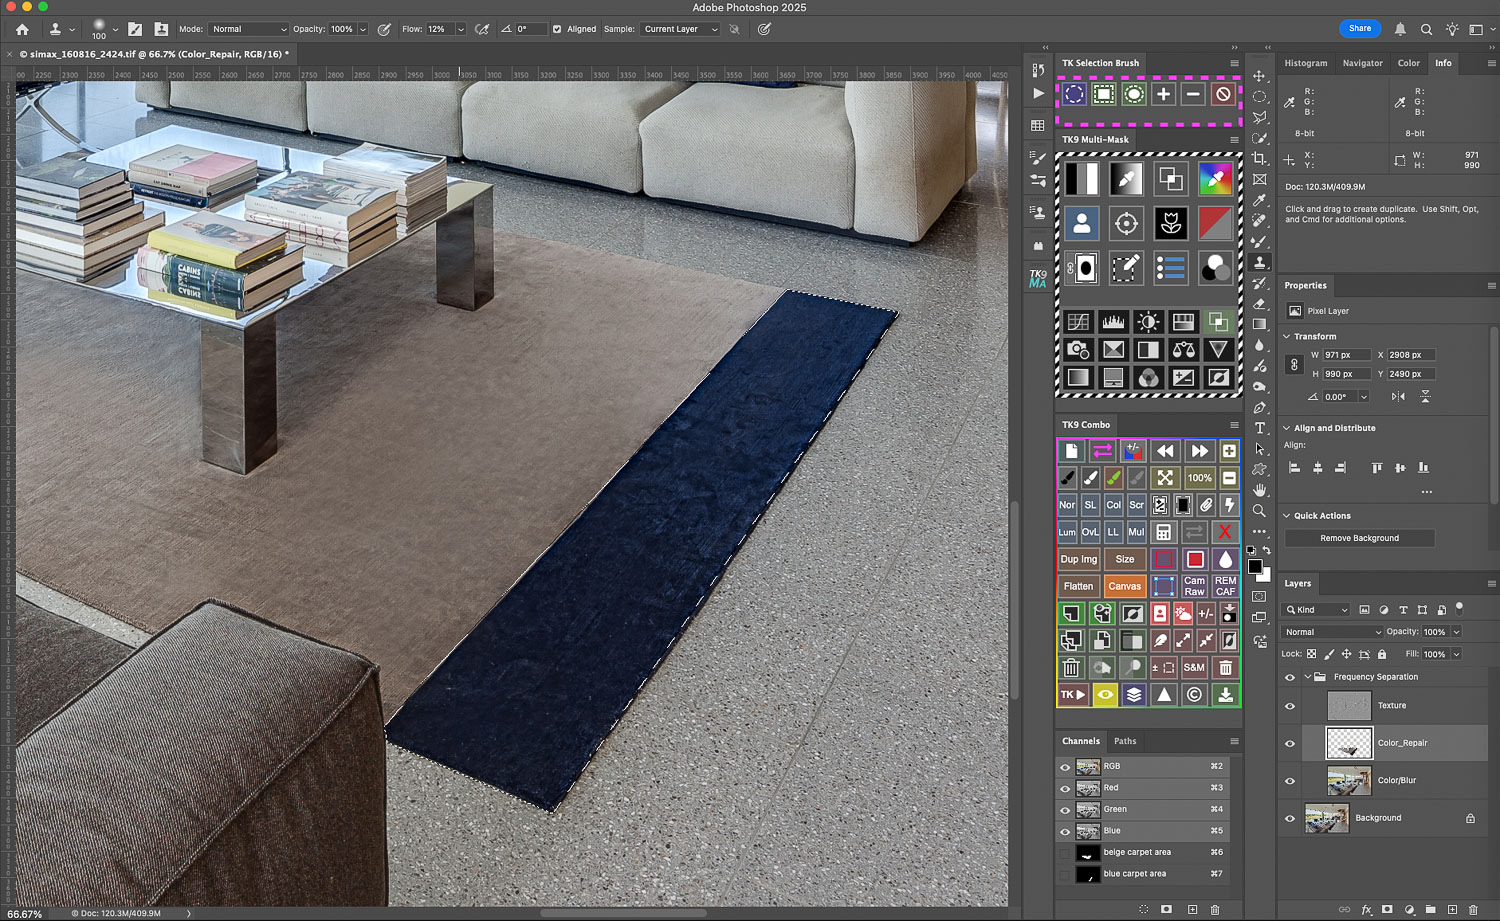
It's going to be the same story for the blue area of the rug....
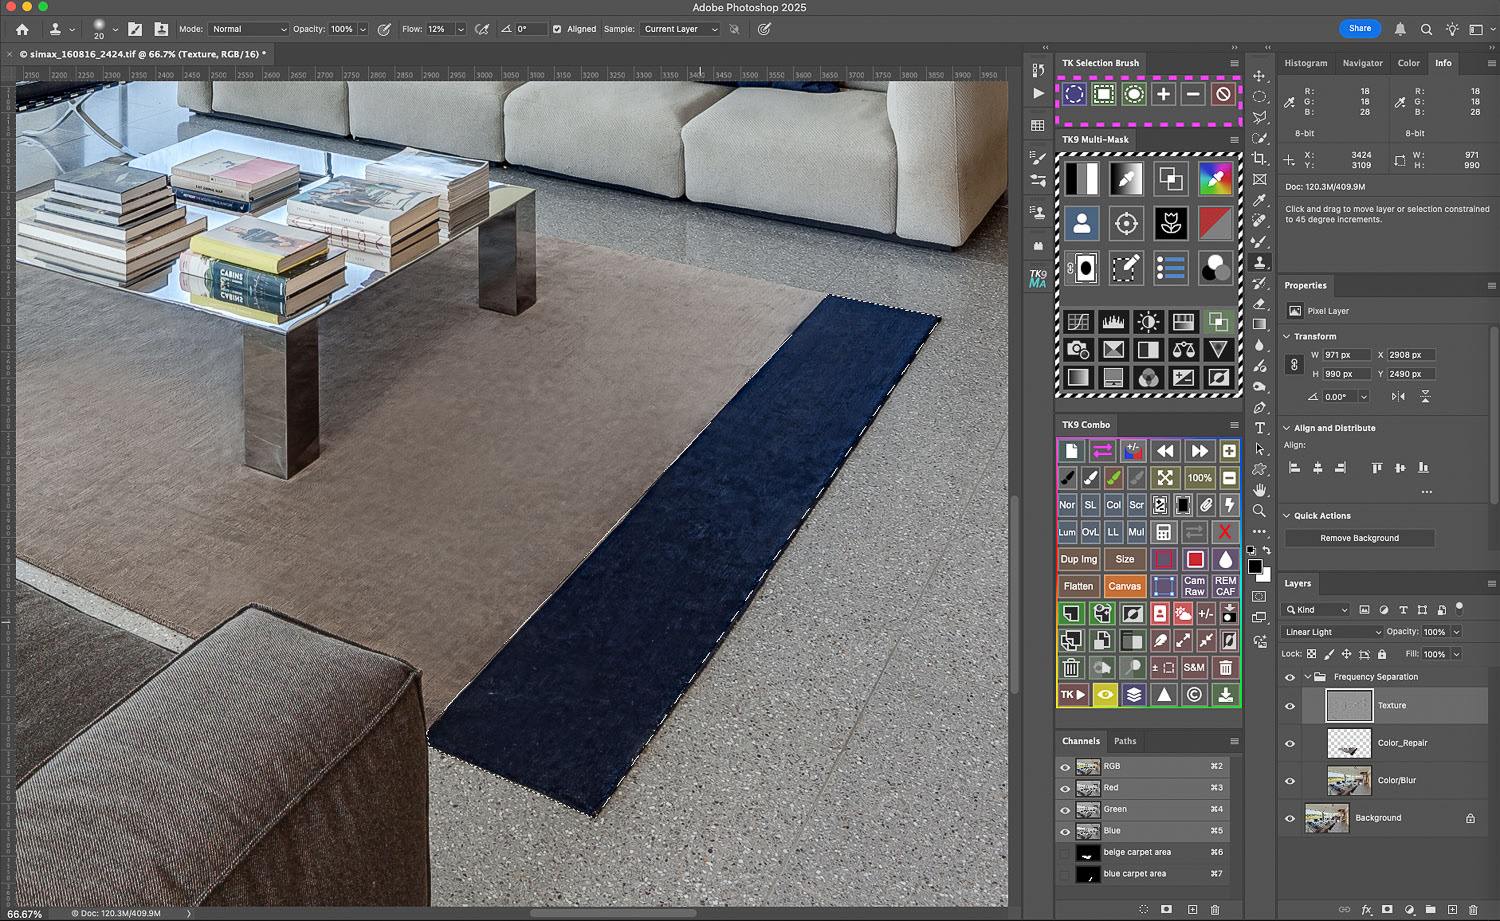
With the area selected, it's first back to the color repair layer and using the Mixer Brush Tool to even out the tone and then back to the texture layer and using the clone Stamp tool for the details...
Bear in mind that the Frequency Separation process requires the creation of two duplicate layers: so a tripling of the image file size. So, when happy, you might want to flatten the image.
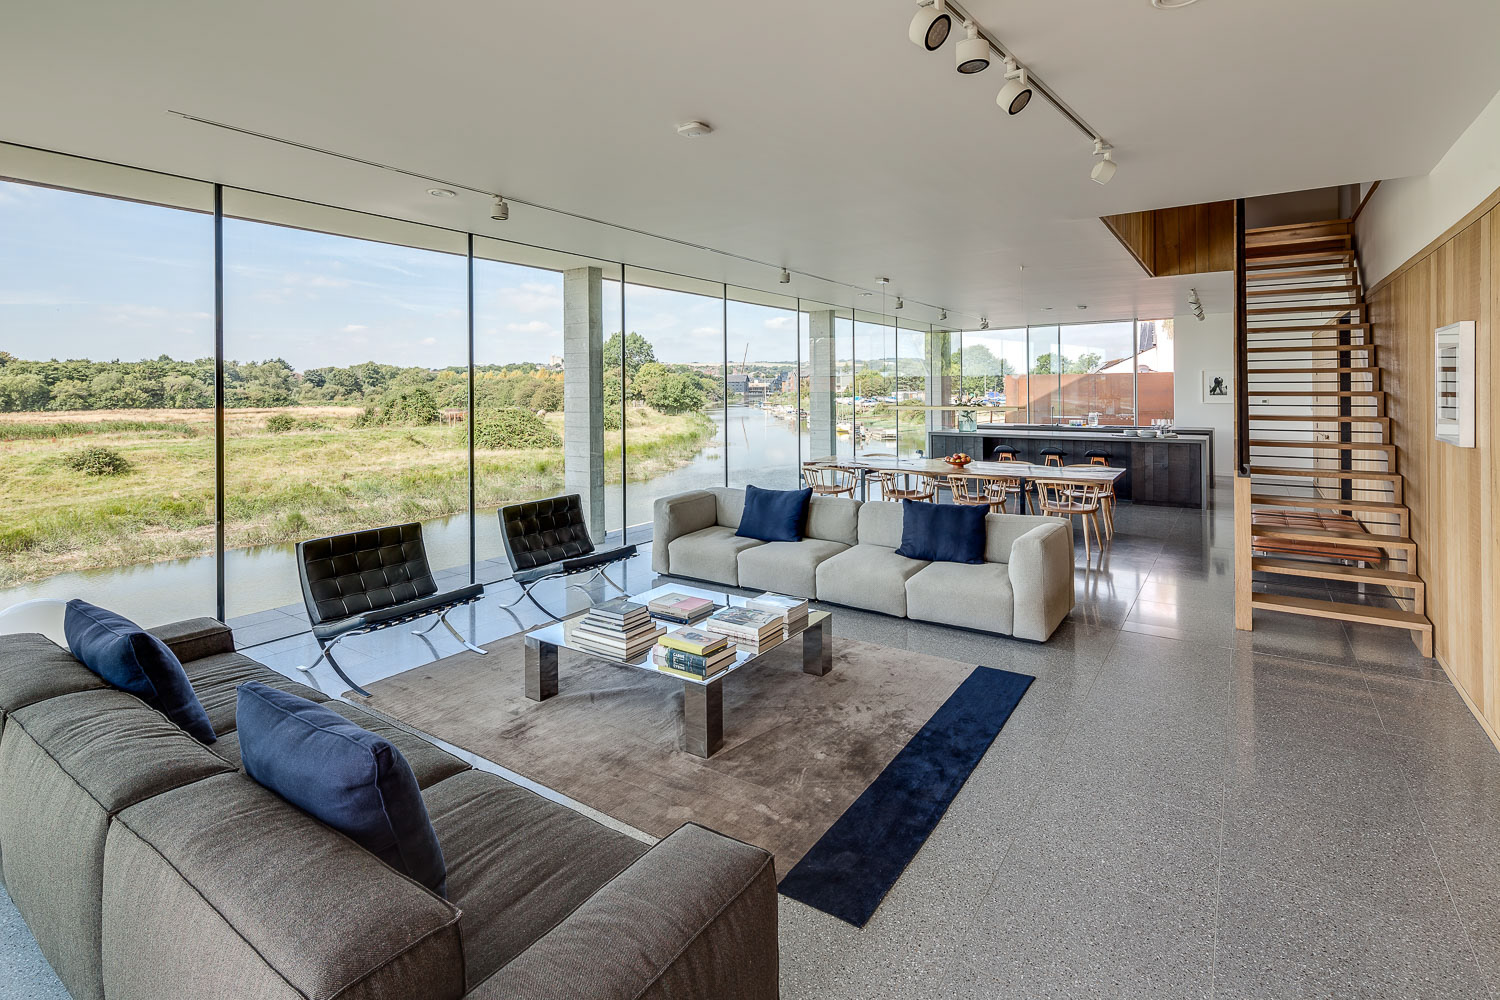
BEFORE

AFTER
Got a problem image?
Or do you just prefer being behind the camera rather than chained to the computer?
If so, why not look into outsourcing your image editing and retouching?
If so, why not look into outsourcing your image editing and retouching?
Feel free to contact me at any time: I can lighten your processing load at very reasonable per image rates!